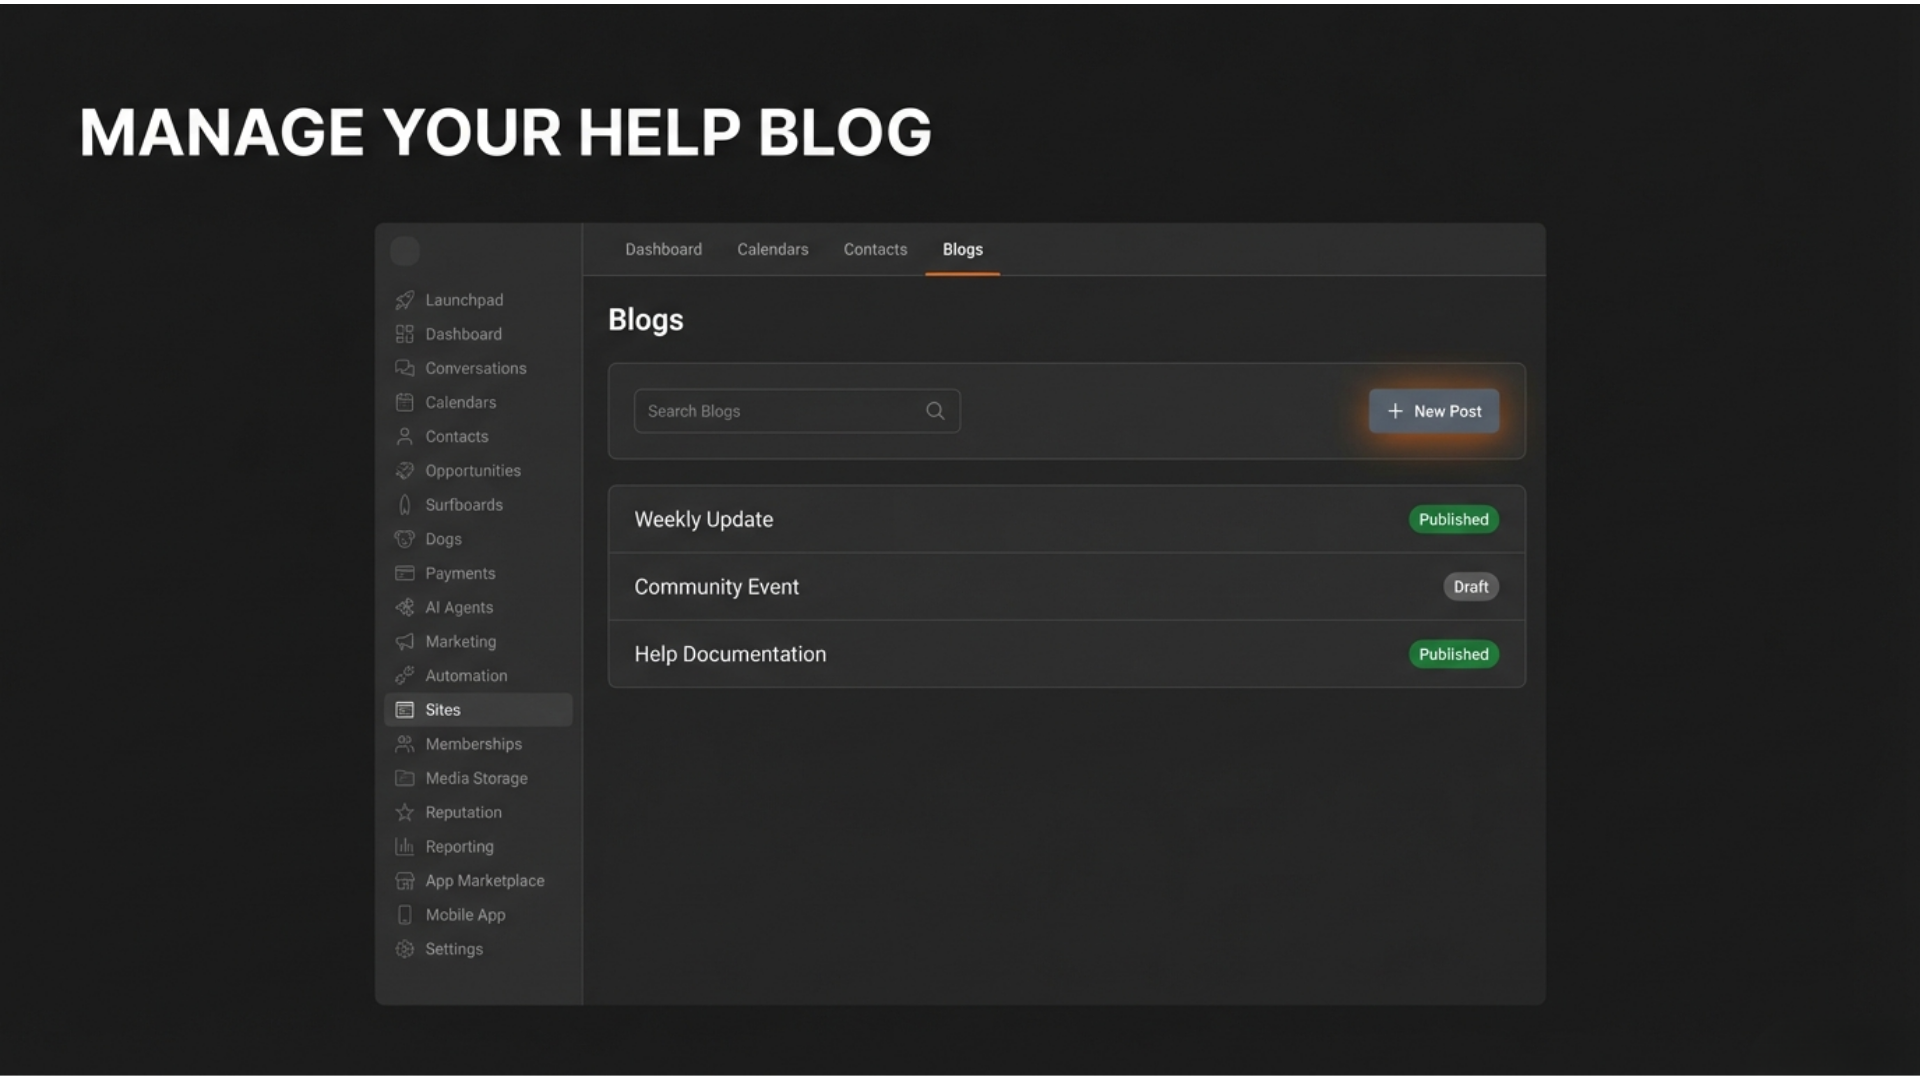
Website & Forms Basics: The Admin Command Center
Why You Need This Hub
As an Admin, you are the keeper of your business's digital information. Every time a client interacts with your website—whether they are signing up for a service, submitting a request, or booking an appointment—that data needs a secure home. The Pondo (our Pondocean system) centralizes this data so you can maintain a "clean digital house" and respond to your community with precision.
Step 1: Accessing Your Admin Tools
Everything related to your digital footprint is managed under the Pages & Forms section.
Locate the Sidebar: Look at the left-hand sidebar menu on your desktop.
Click the Icon: Click on Pages & Forms (the icon looks like a small framed website).
The Global View: This opens your dashboard. At the top, you will see your primary navigation tabs: Funnels, Websites, Blogs, WordPress, and Forms.
Step 2: Finding Your Data (Form Submissions)
When someone fills out a "Contact Us" or "Registration" form on your site, that information is stored securely in your database.
Navigate to Forms: Click the Forms tab in the top navigation bar.
Access Submissions: From the dropdown menu that appears, click Submissions.
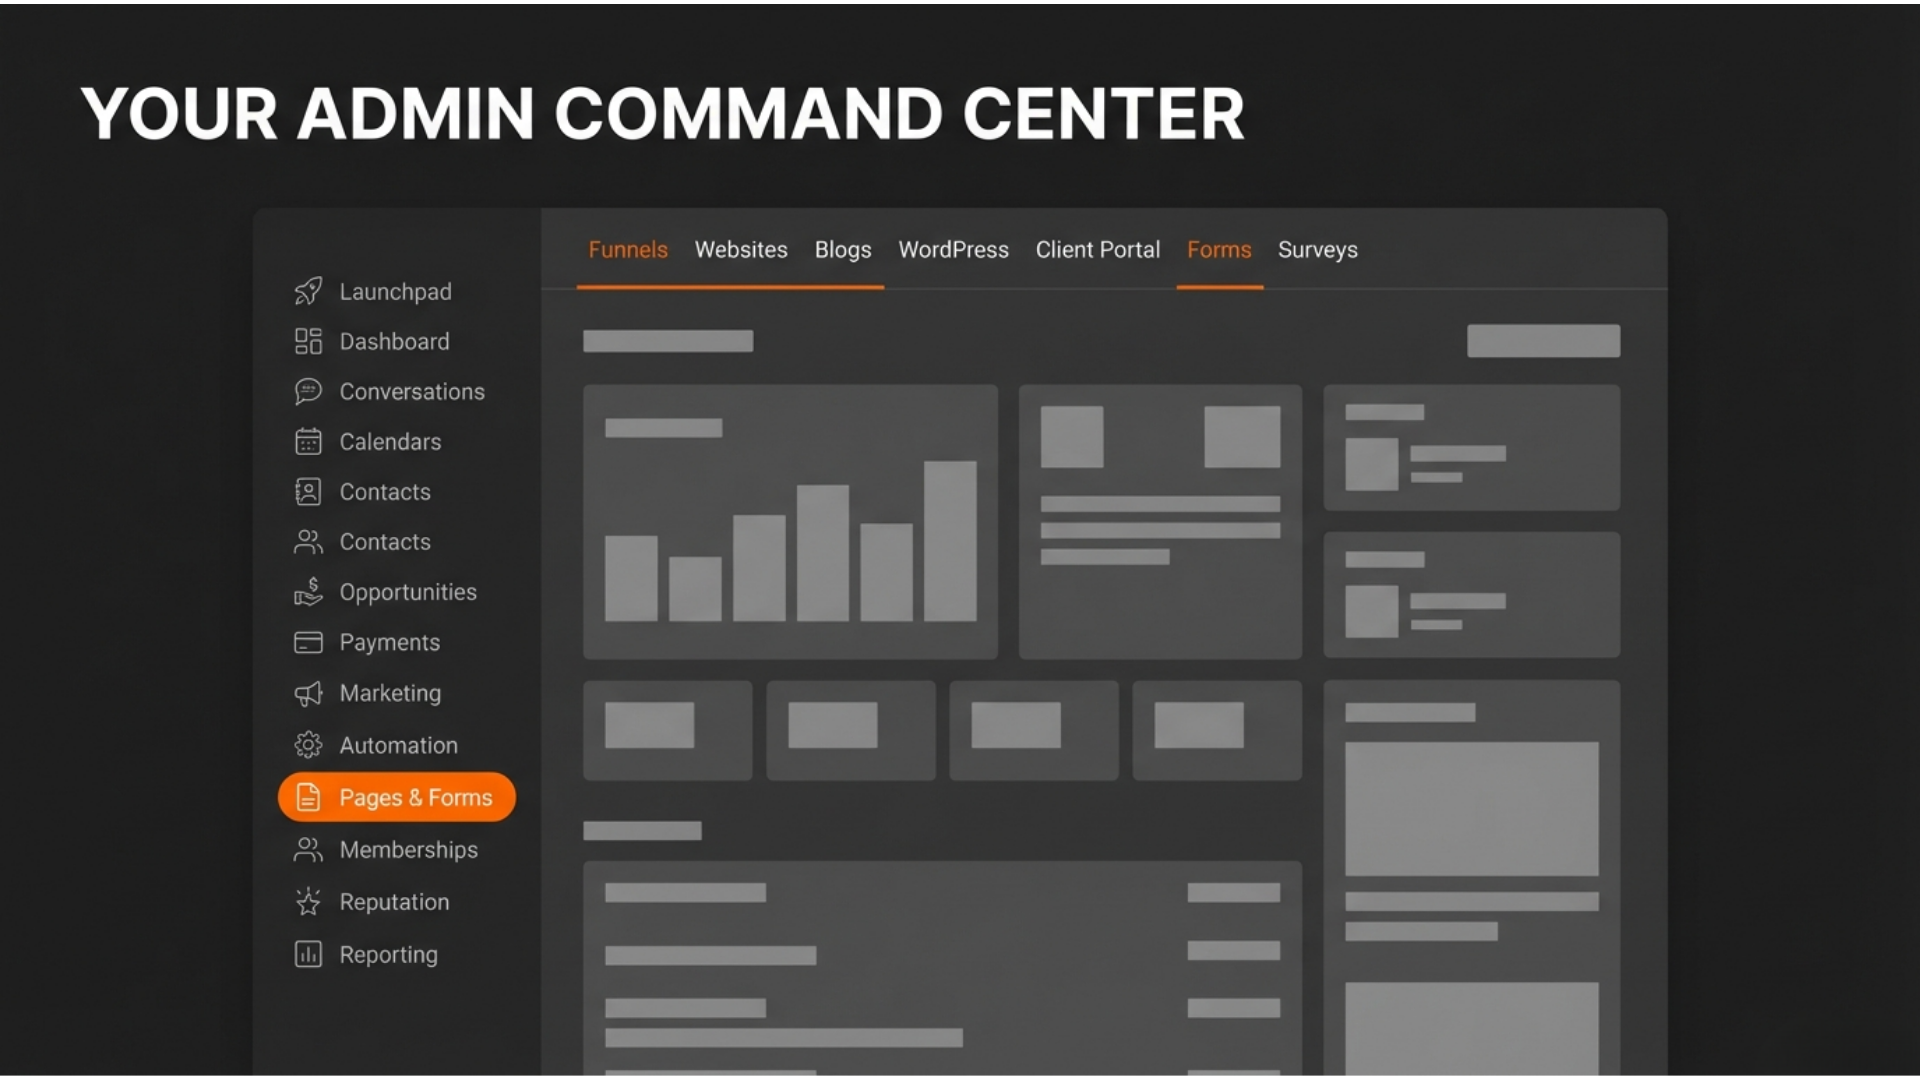
Filtering Your View: Use the "All Forms" dropdown at the top. This allows you to pick a specific form (like "Contact Us") so you only see the data you need.
Reading the List: You will see a clean list with columns for Name, Email, Date, and the specific answers they provided.
Step 3: Managing Your Master Calendar
This is your command center for all appointments, consultations, or room bookings.
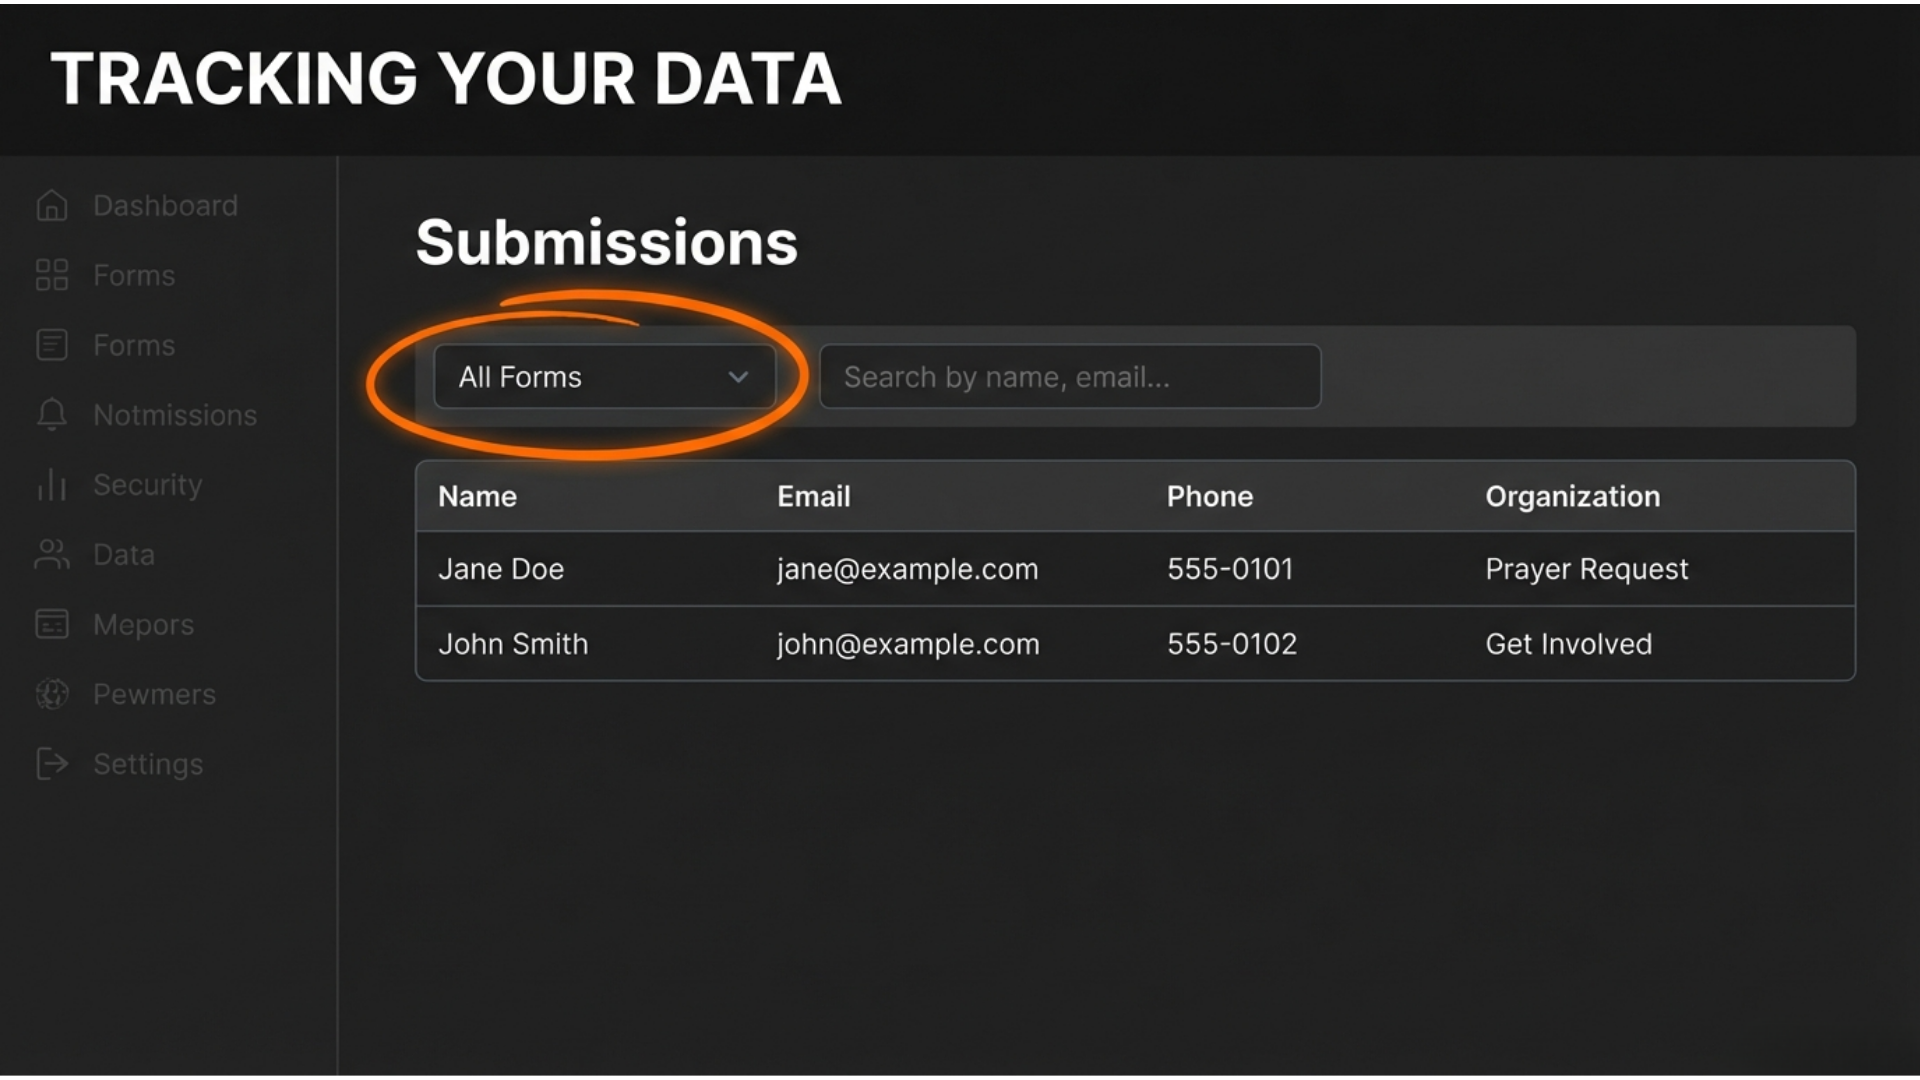
Accessing the Schedule: Click Bookings & Schedule in the left-hand sidebar.
The Layout: You will see your calendar view. At the top right, you can toggle between Day, Week, and Month views.
Manual Booking: If a client calls you, click the + New Appointment button in the top right.
The Popup: A window will appear. You must select the Calendar, the Person, and the Time, then click Save.
Step 4: Updating Your Website (Simple Edits)
You don't need to be a coder to update a headline or swap a photo.
Open the Builder: Click Pages & Forms -> Websites. Click the name of your website.
The Page List: You will see a list of your pages (Home, About, Contact). Hover over "Home" and click Edit.
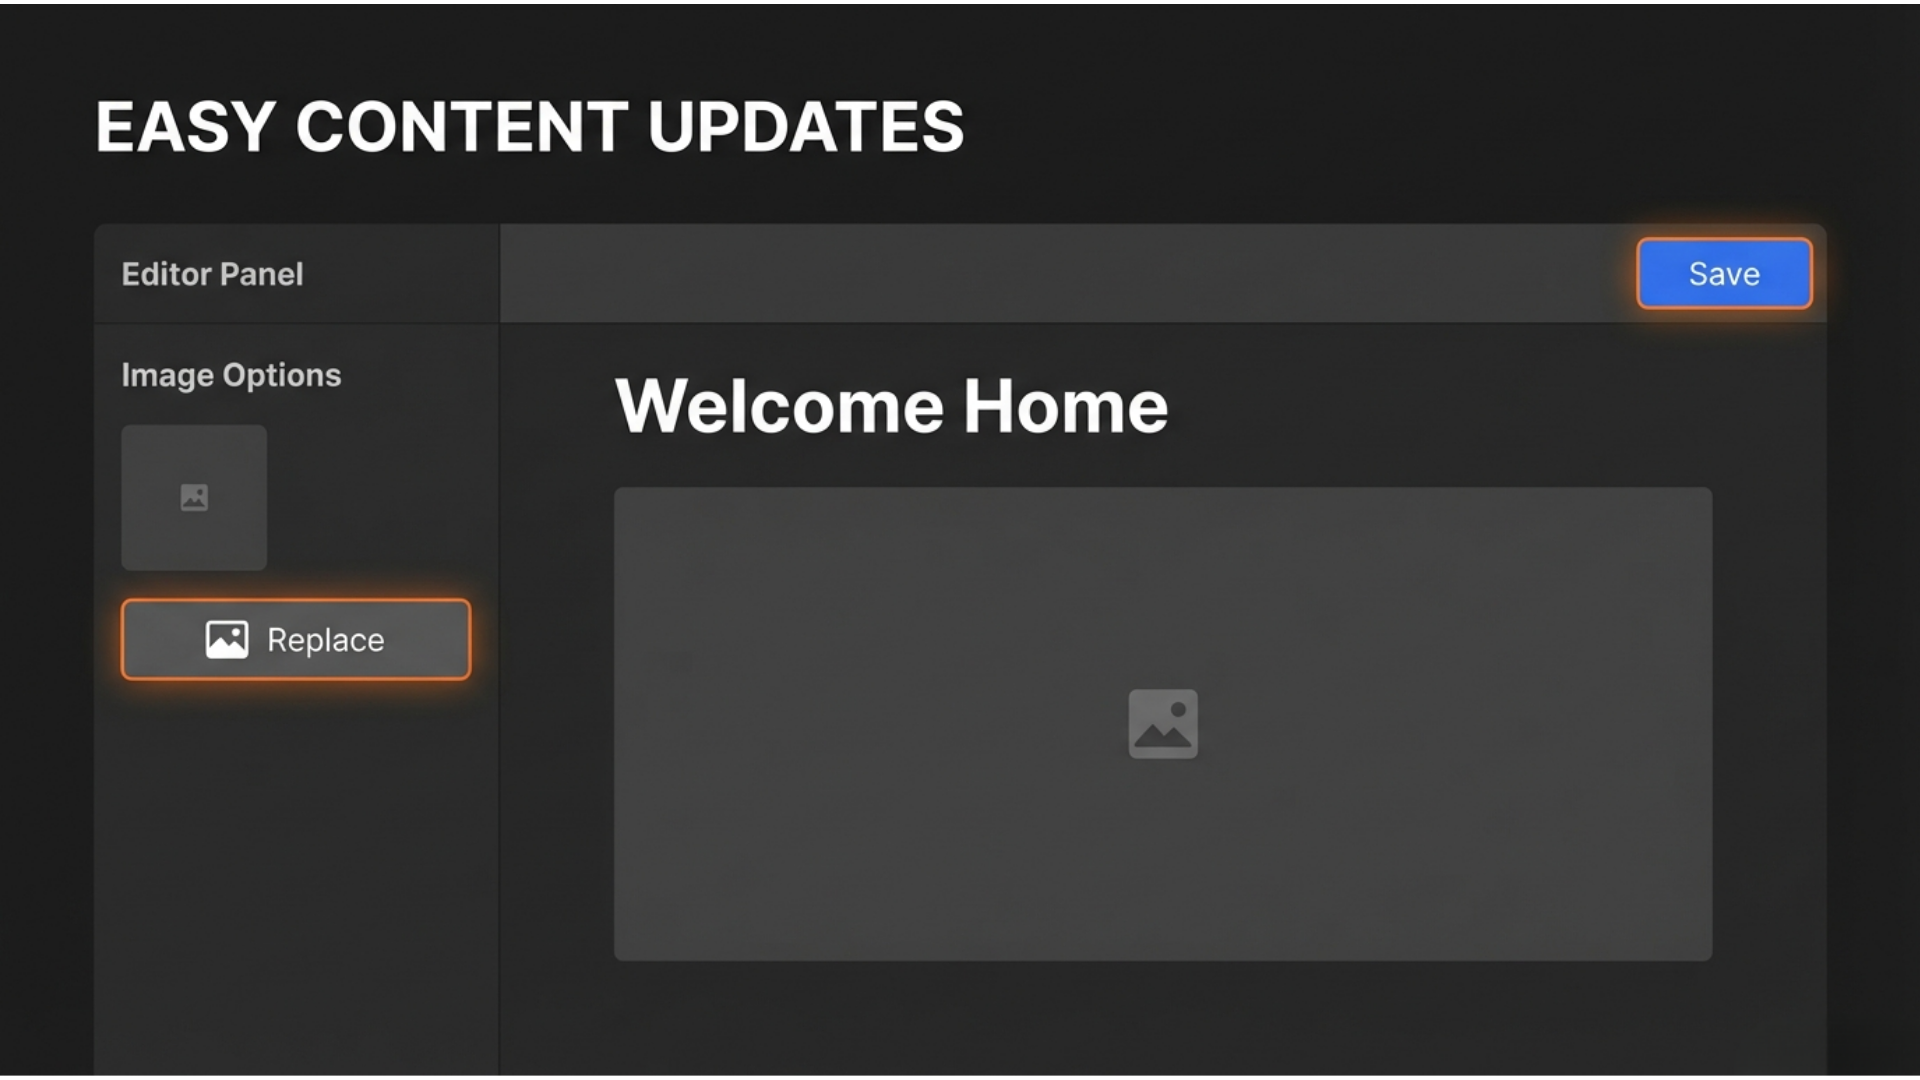
The Left-Hand Toolbar: When the editor opens, the most important section is the sidebar on the left.
Changing Media: Click any image on the page. On the left sidebar, scroll to "Image Options." Click the Media Icon to upload your new photo.
The "Save" Rule: Always look at the very top right of the screen. Click the blue Save button before you exit.
Step 5: Managing the Help & Resource Blog
The blog is where you post articles or "How-To" guides for your clients.
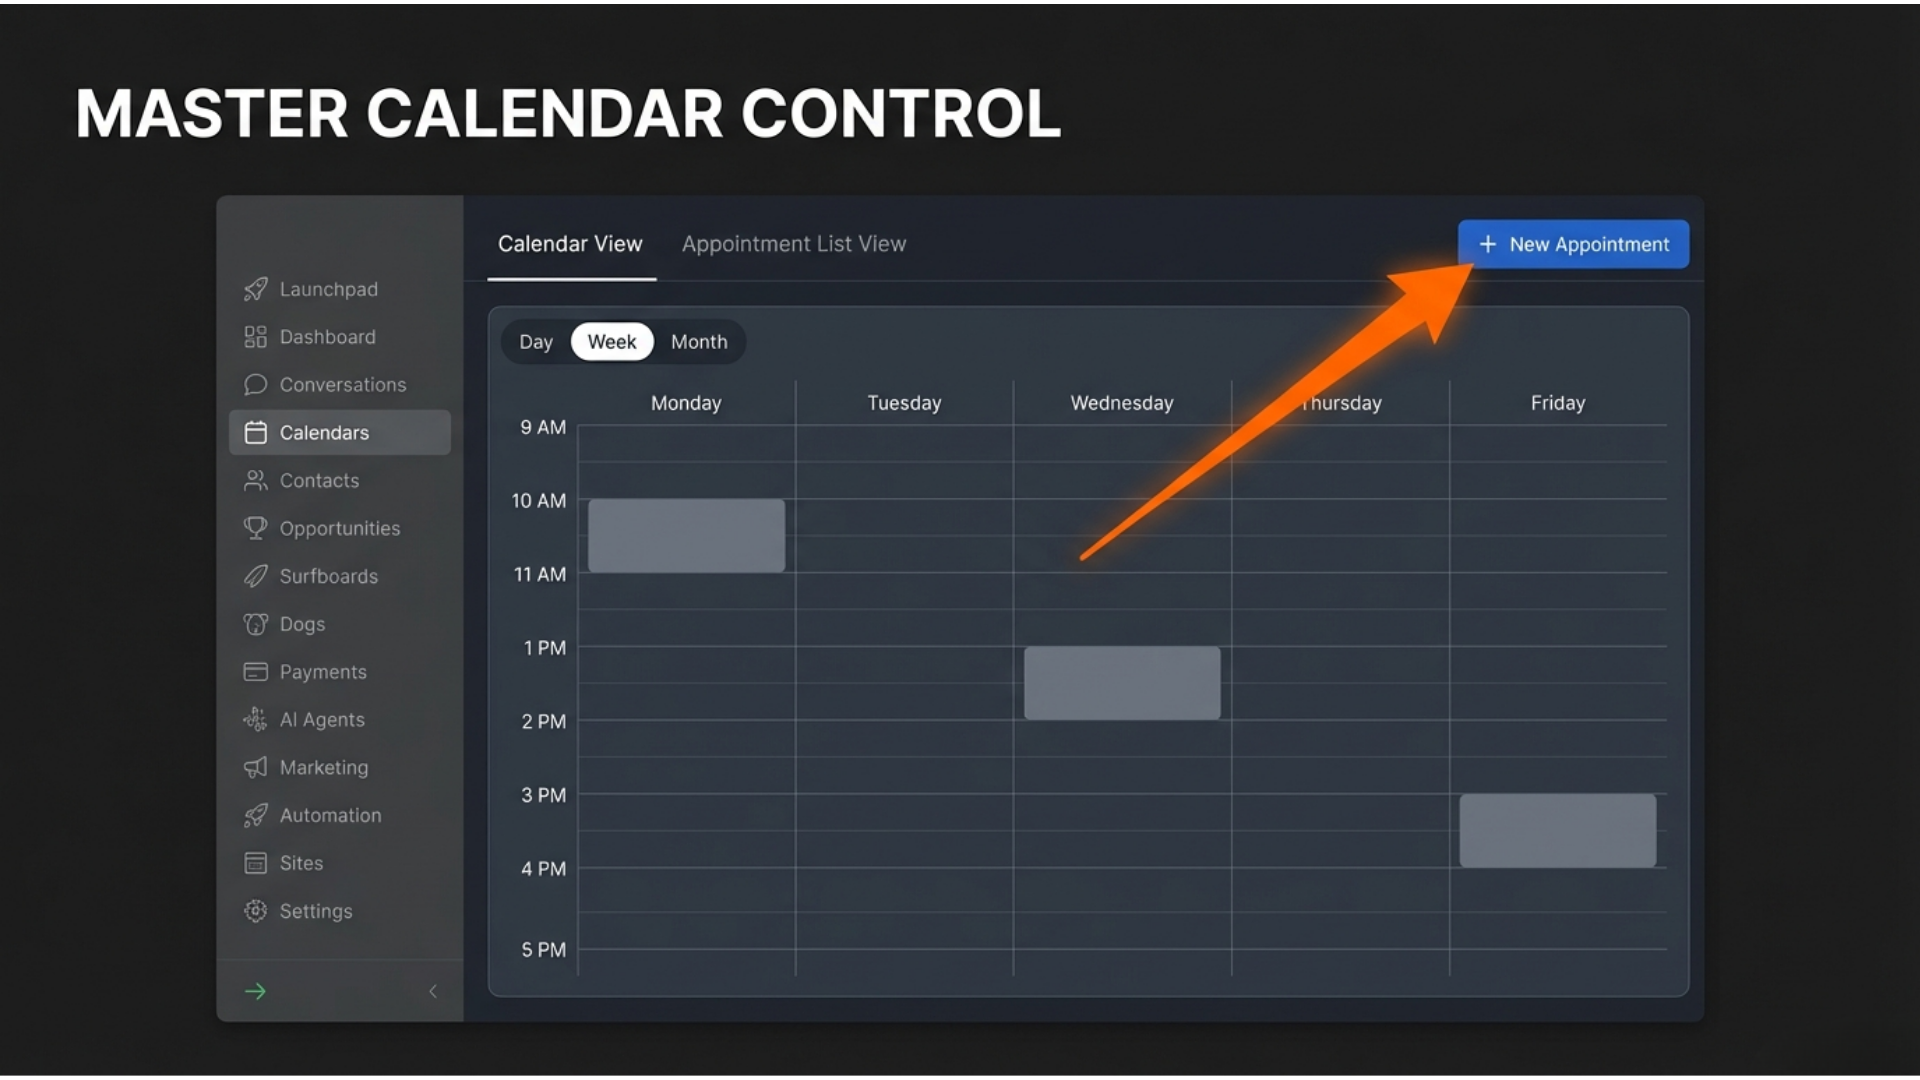
Accessing Blogs: Click Pages & Forms -> Blogs.
Create a Post: Click the + New Post button.
The Details: You will see fields for Post Title, Description, and Post Image. Fill these in and click Save.