Social & Marketing: Your All-in-One Social Command Center
Why You Need the Social Planner
In today’s digital world, your business’s online presence is often the first thing people see. However, managing multiple platforms—Facebook, Instagram, LinkedIn, Google—can feel like a full-time job.
We built the Social Planner inside The Pondo (our Pondocean system) to consolidate that chaos. Instead of logging into four different apps, you can create one post and distribute it everywhere at once. This allows you to plan your entire month of marketing in a single sitting, ensuring you stay visible without being glued to your phone.
Step 1: Accessing Your Marketing Hub
Your marketing tools are centralized on your desktop for maximum control.
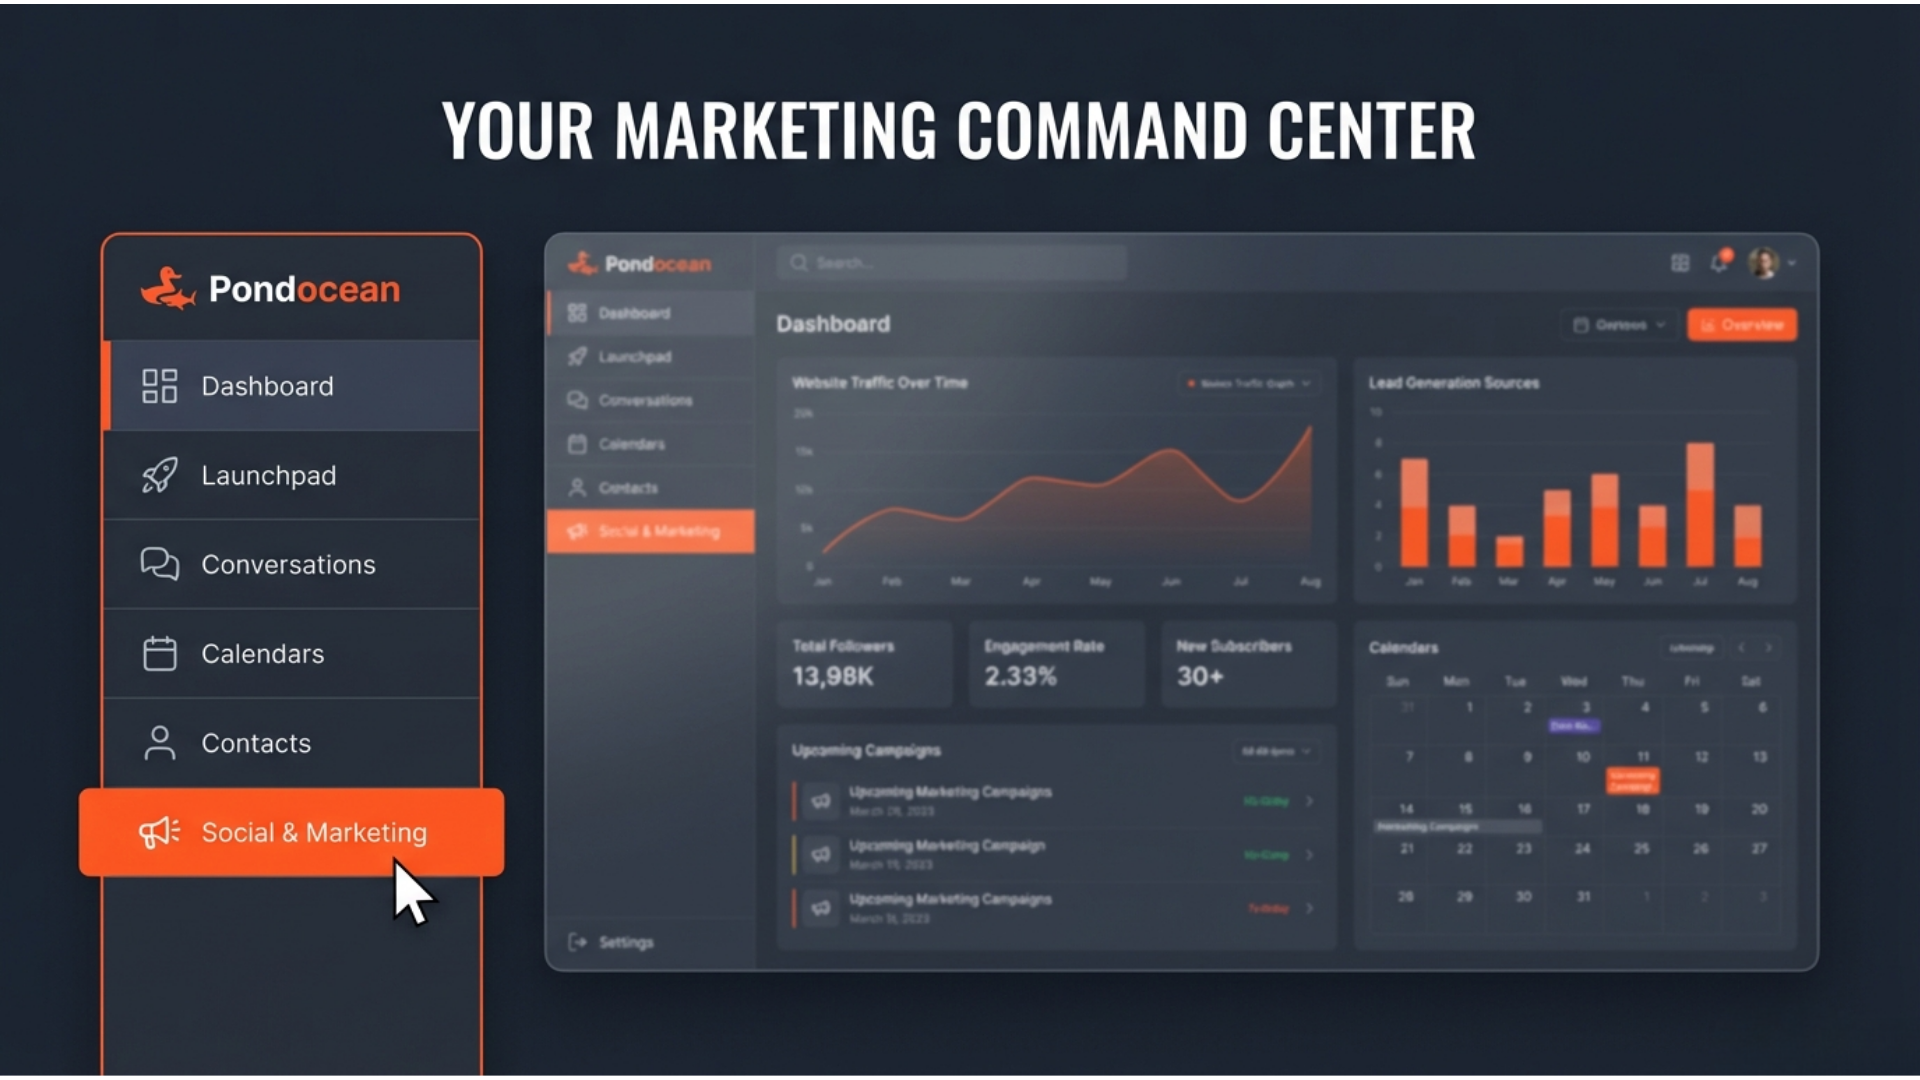
Locate the Sidebar: On your desktop web portal, look at the left-hand sidebar menu.
Enter the Hub: Click on Social & Marketing (the icon looks like a megaphone).
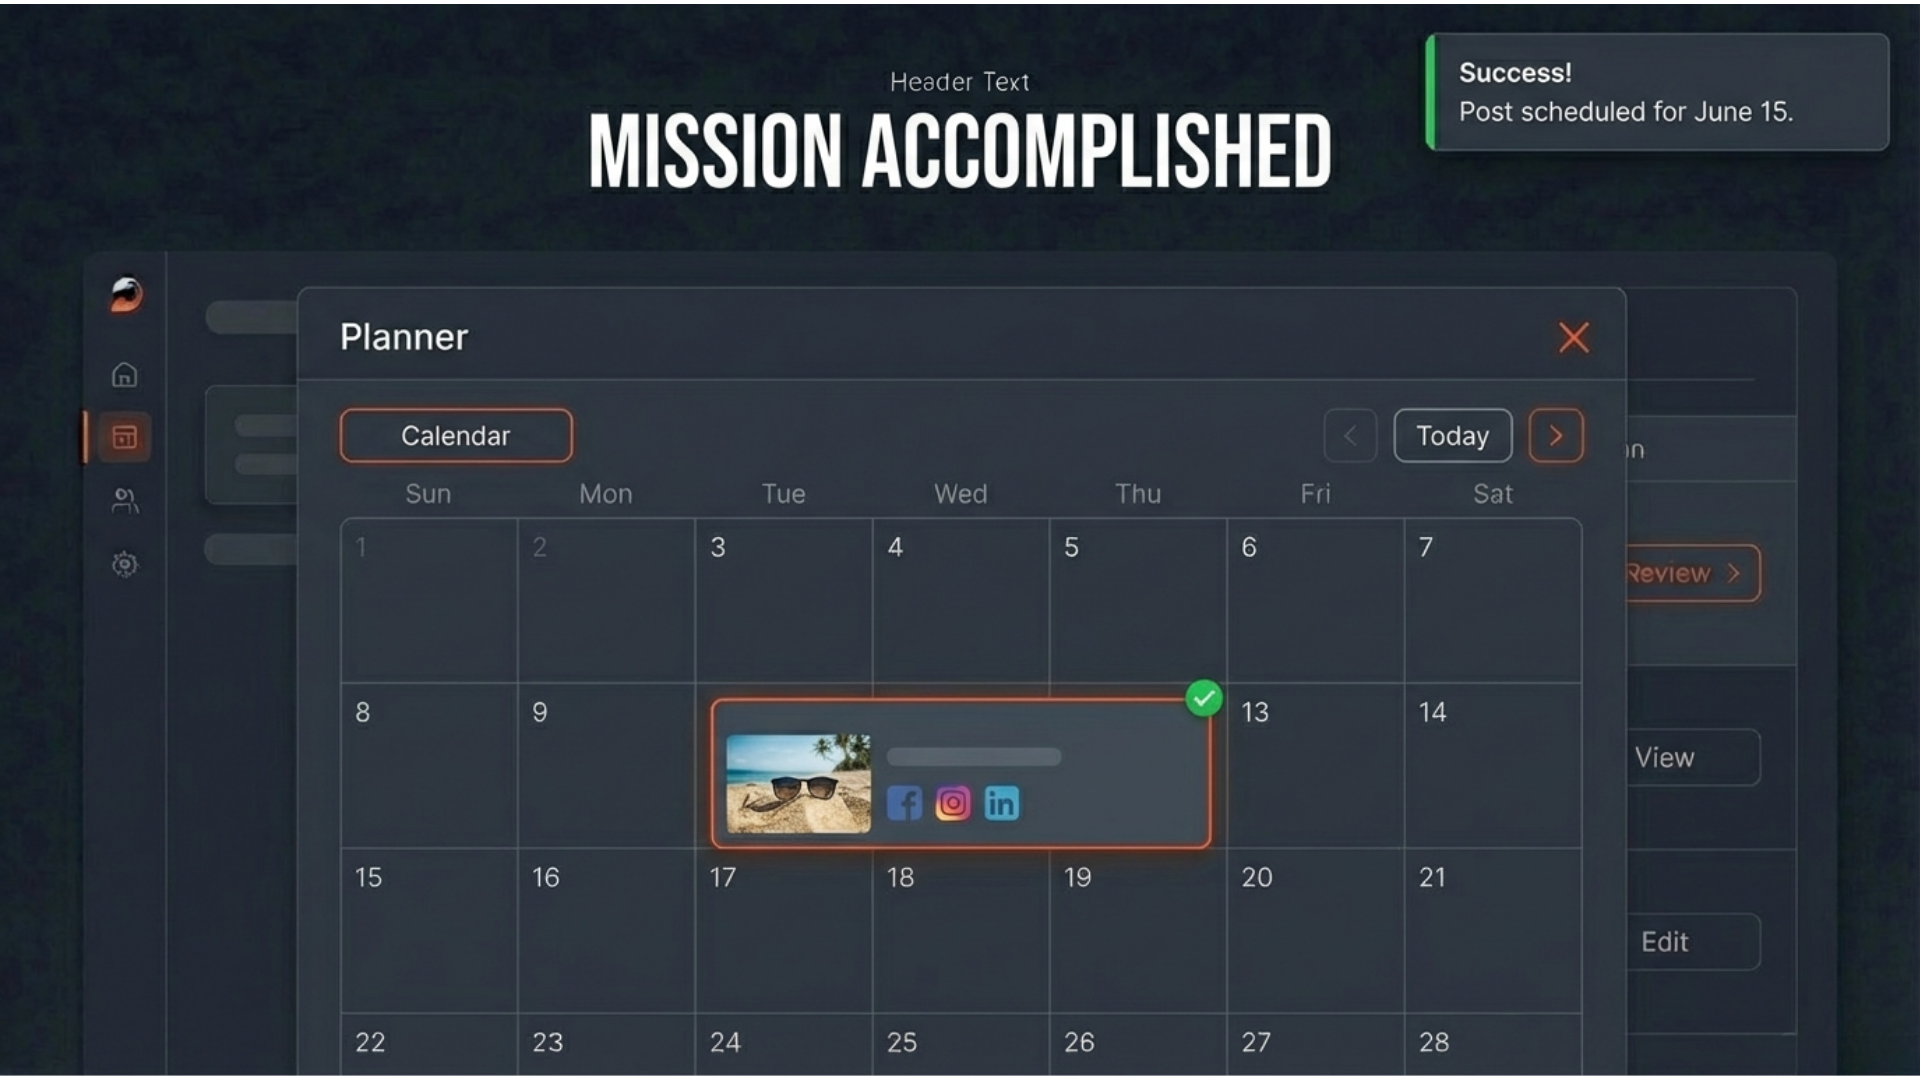
The Planner View: You will immediately see your main calendar dashboard. This shows you a birds-eye view of every post that has gone out and every post waiting in the queue.
Step 2: Connecting Your Digital "Megaphones"
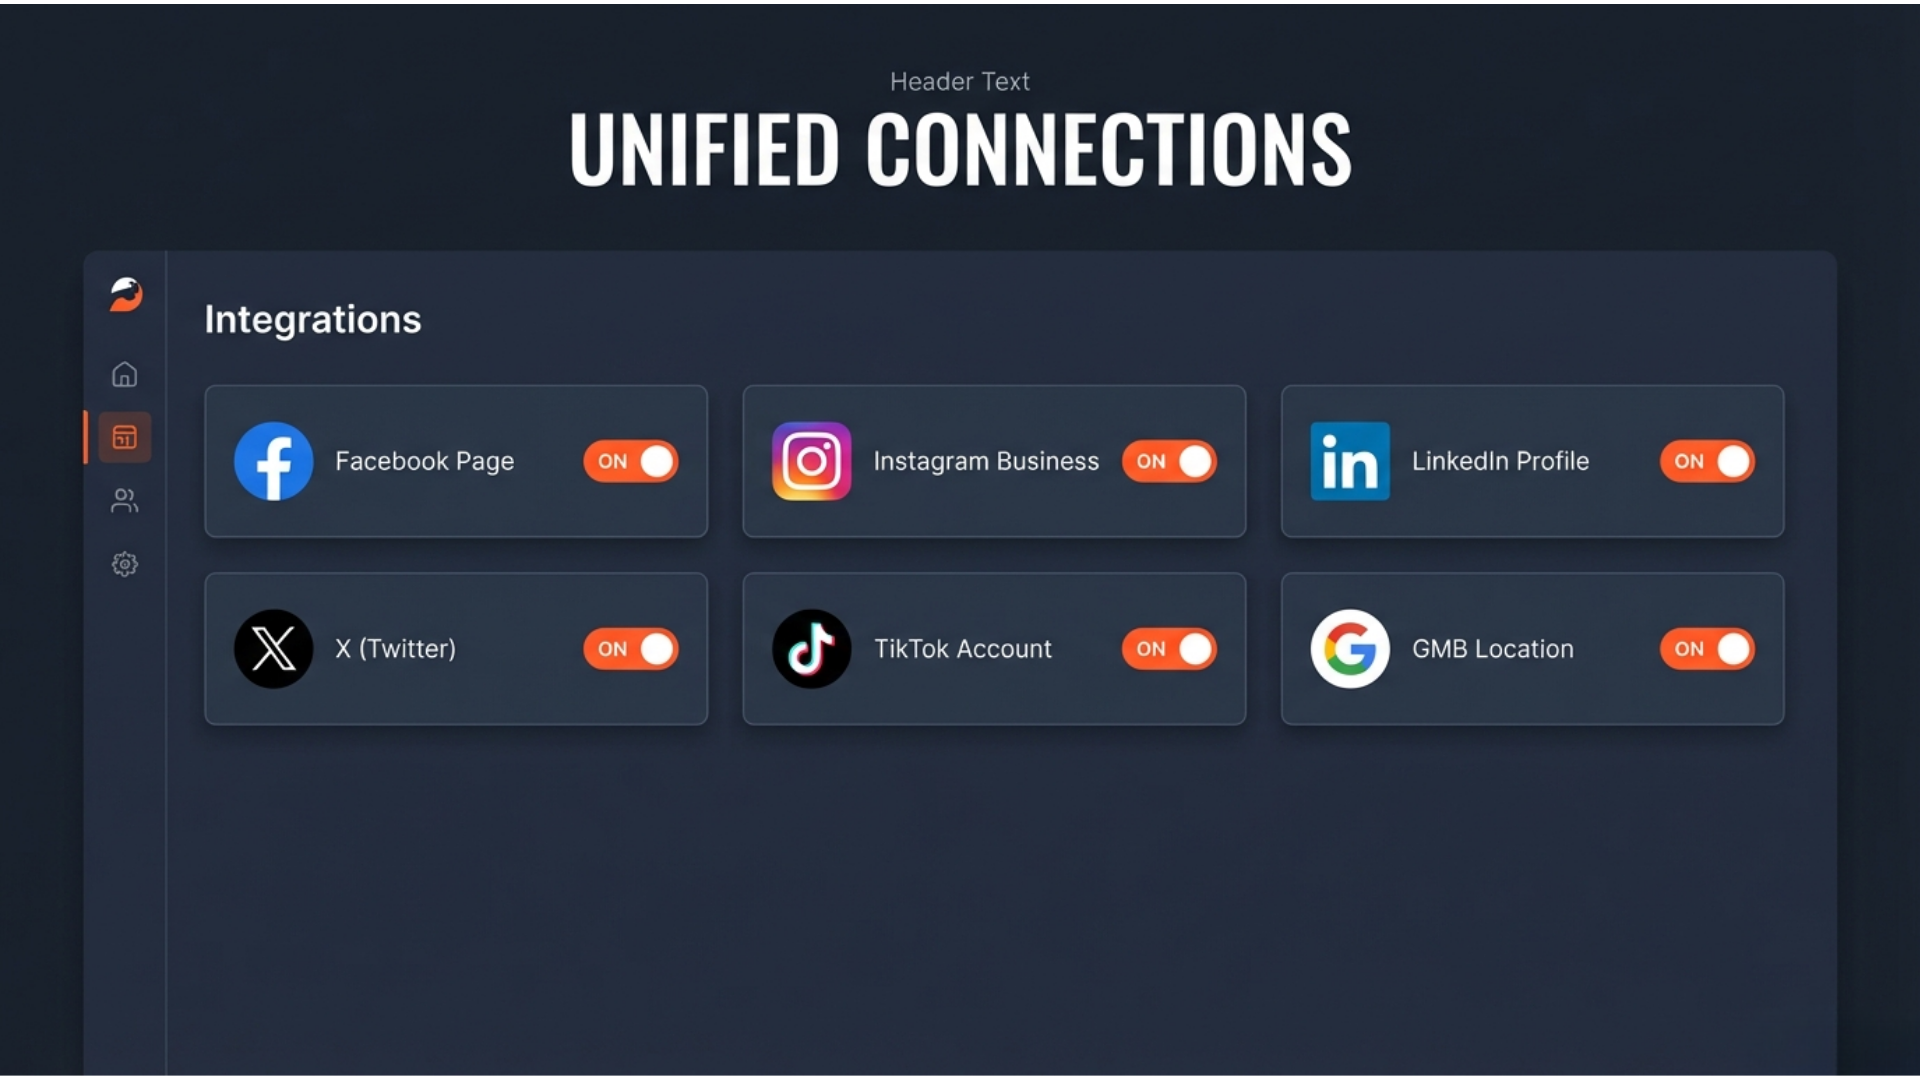
Before you can post, you must link your specific social media accounts. This is a one-time setup.
Open Settings: Click the Gear icon (Settings) at the top right of the Social Planner screen.
Choose Your Platforms: Click on + Connect Social. You can link Facebook Pages, Instagram Business, Google Business Profiles, LinkedIn, and more.
Authorize Access: Follow the secure prompts to log in and "Allow Access" for The Pondo to post on your behalf.
Step 3: Creating and Scheduling Content
This is where you save hours of work every week. You no longer have to post "in the moment."
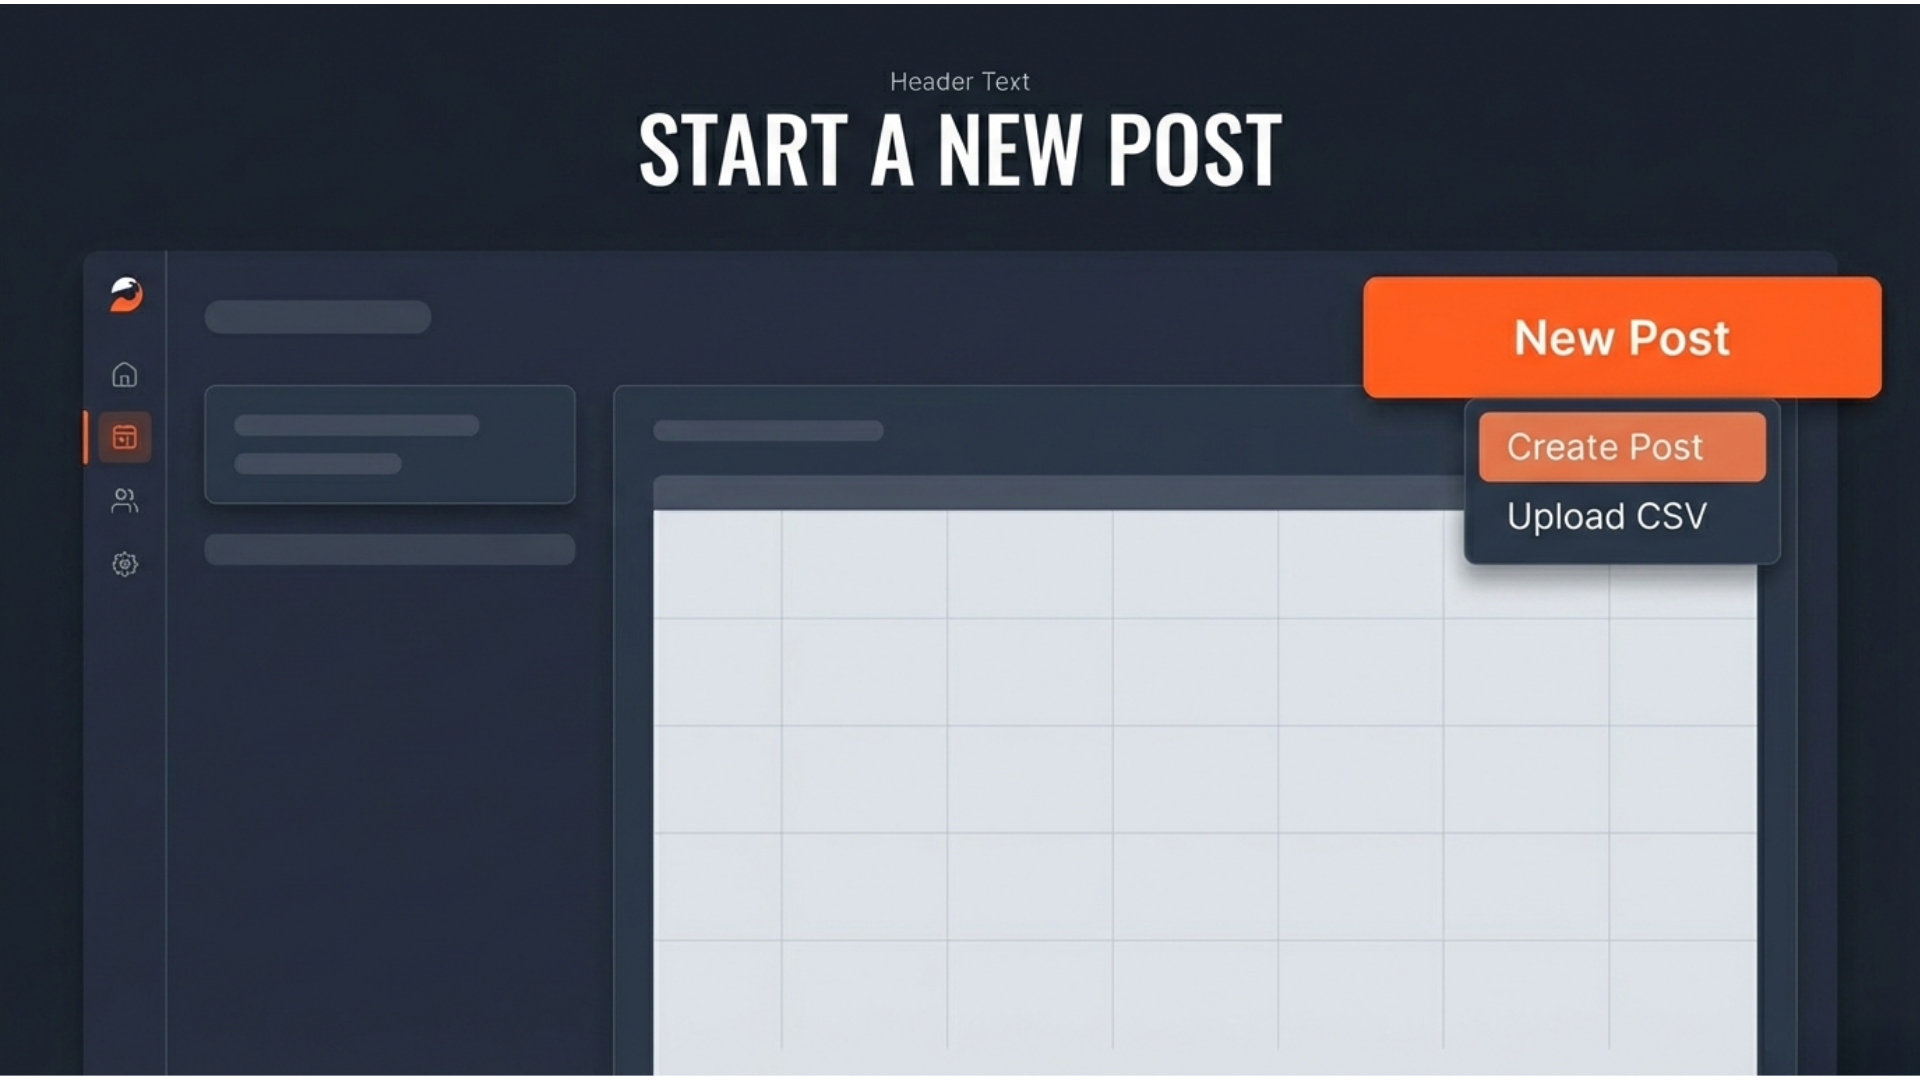
Start a Draft: Click the blue + New Post button in the top right.
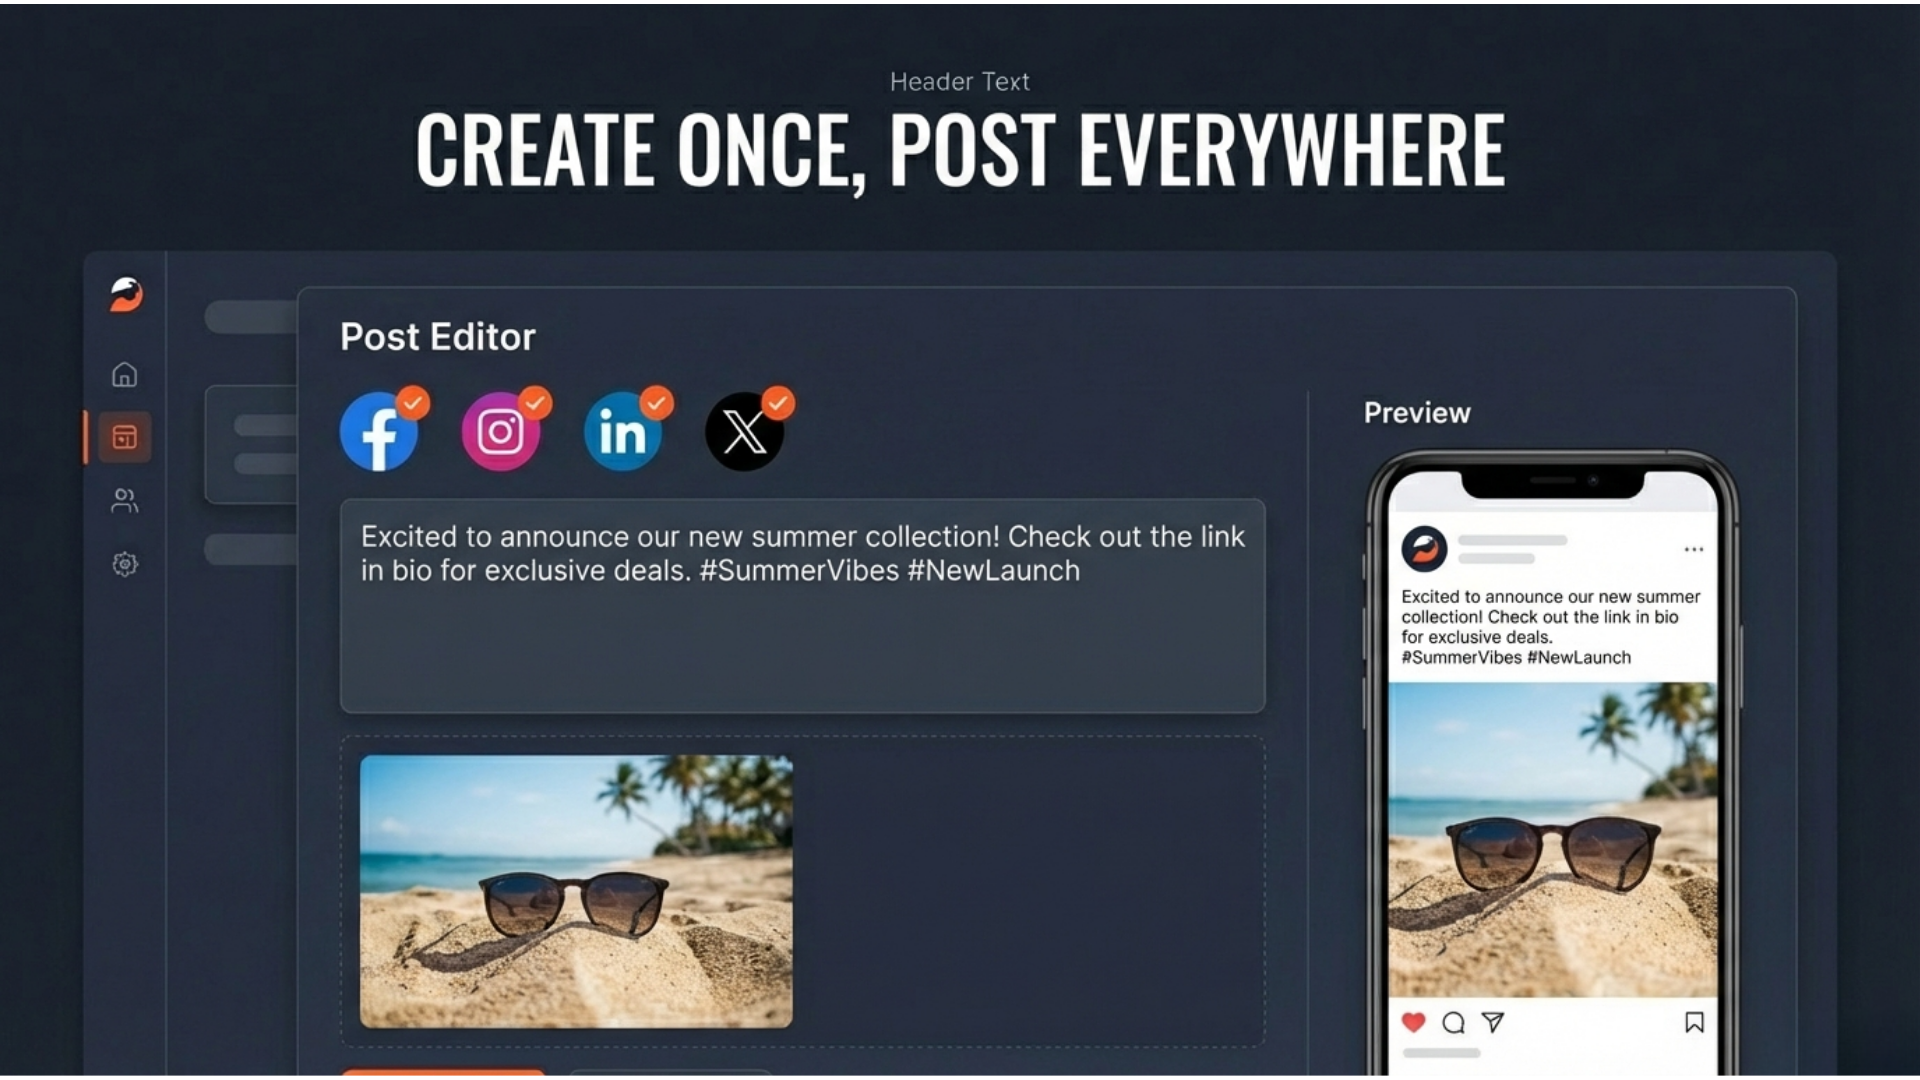
Pick Your Channels: At the top of the window, select the icons of every account you want this message to appear on.
Write and Design: Type your caption in the text box and upload your high-quality photos or videos.
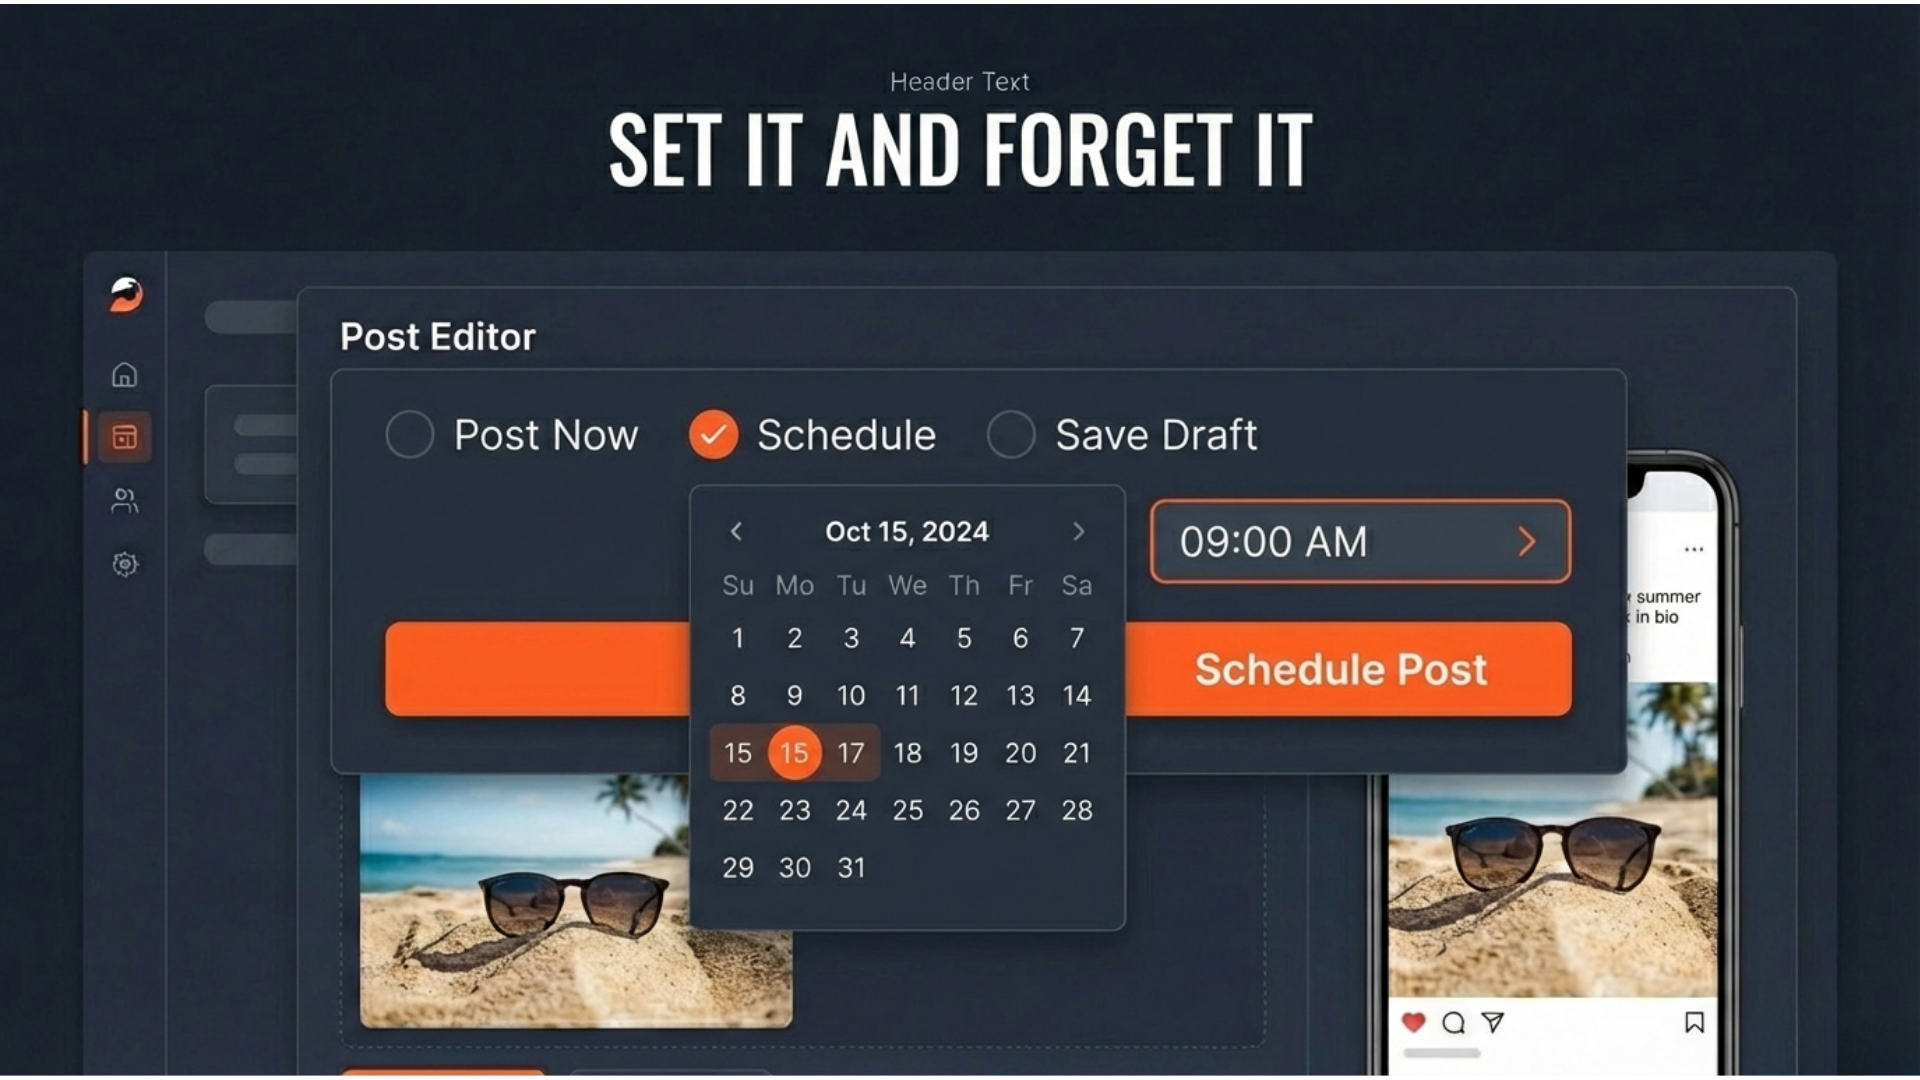
Schedule the Magic: Instead of hitting "Post," click the dropdown arrow next to the button and select Schedule Post.
Set the Date: Choose the specific day and time you want the post to go live.
Step 4: Team Collaboration (The Approval Flow)
If you have staff members helping with your marketing, you can maintain total quality control so nothing goes public without your say.
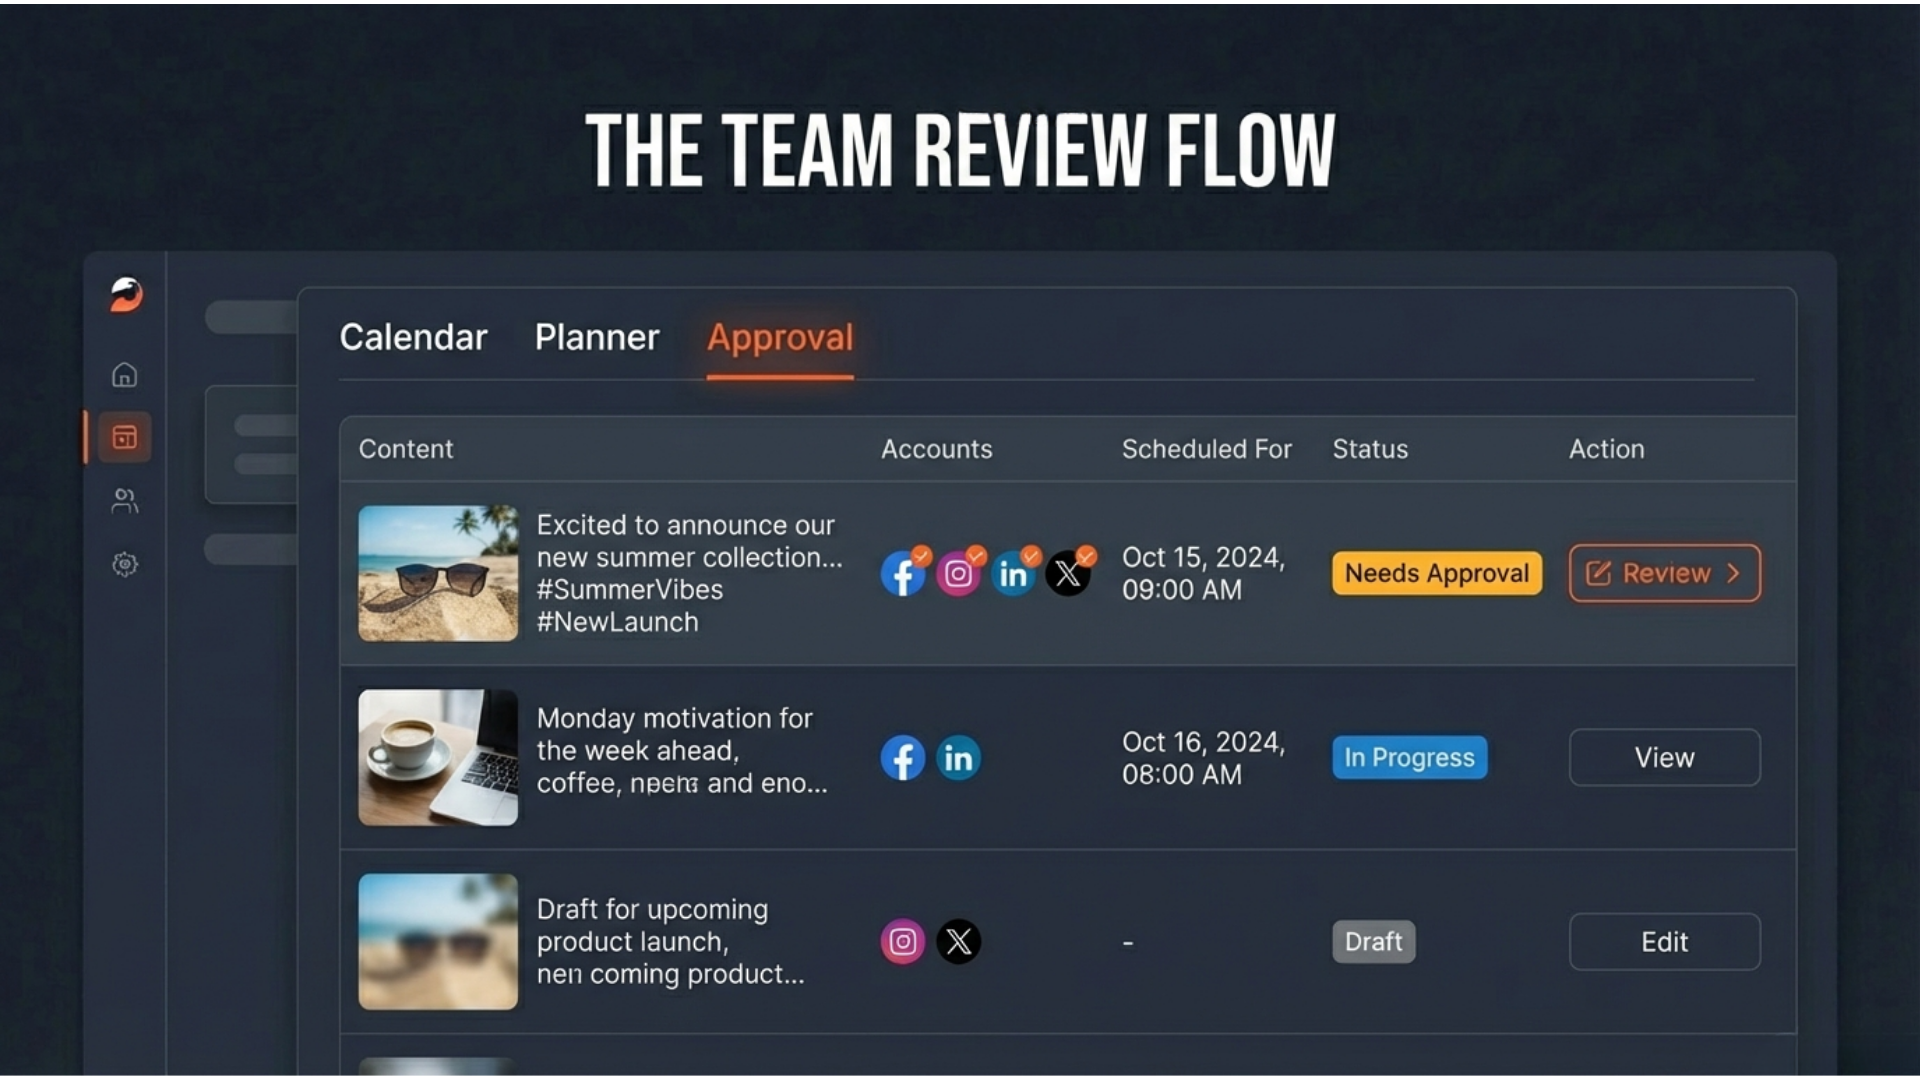
For the Creator: When they finish a post, they select Send for Approval instead of scheduling it. They then pick you as the reviewer.
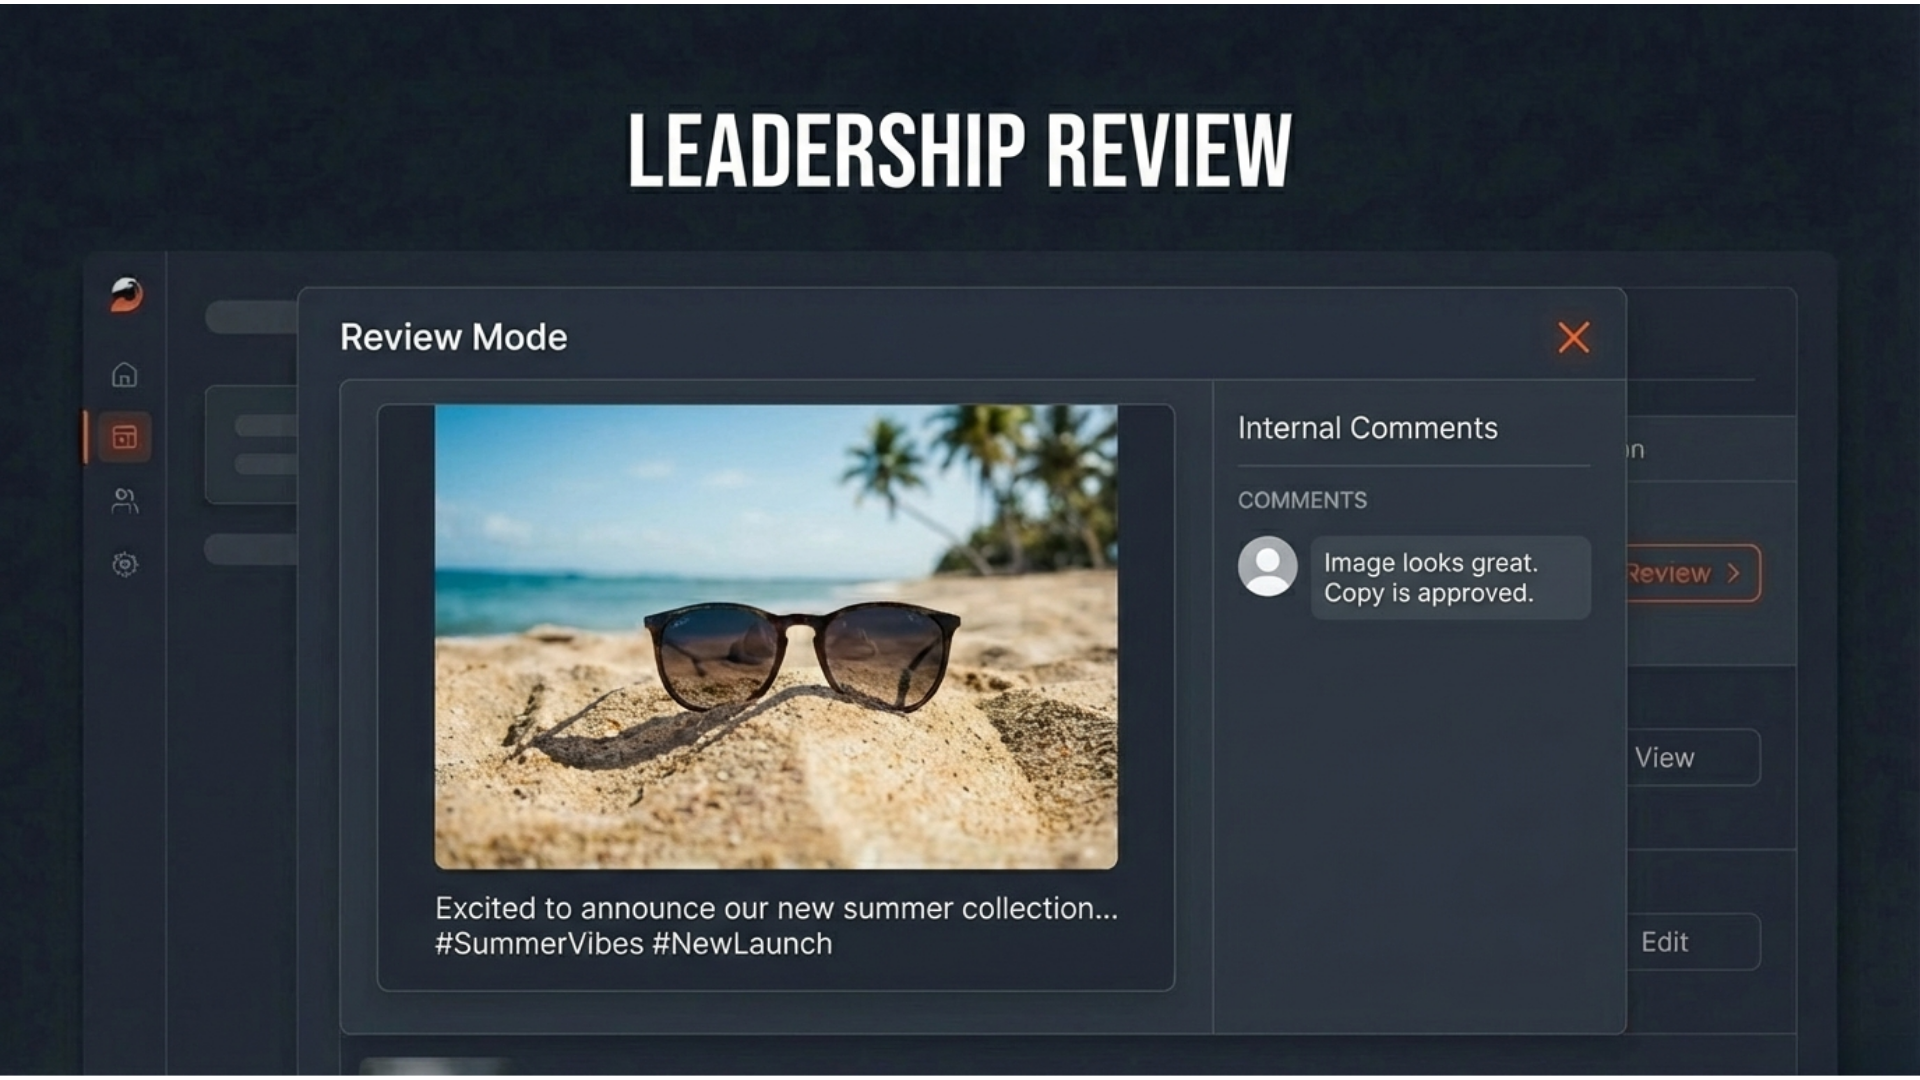
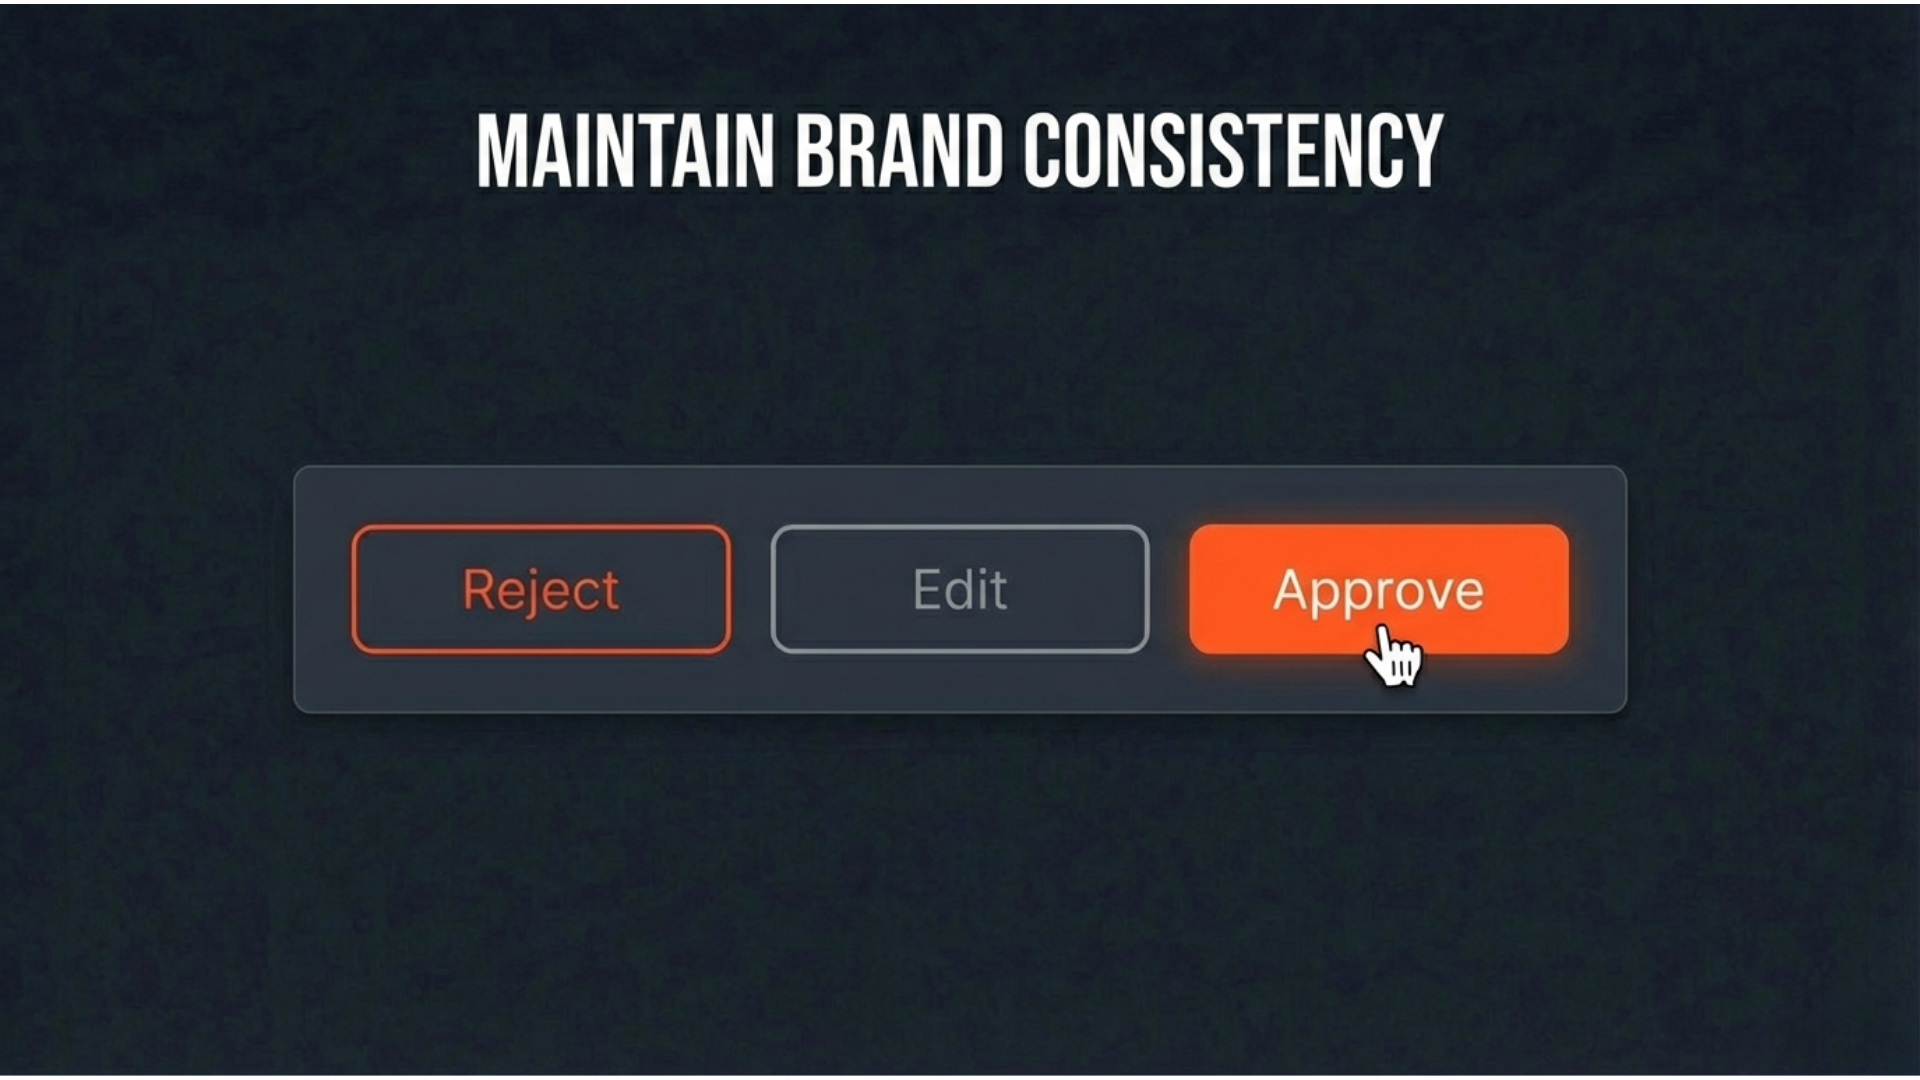
For the Approver: You will see a notification. Navigate to the Approval tab at the top of the Social Planner. You can review the content, click Approve to set it live, or Reject with a note for changes.
💡 Summary for Non-Techies
Social & Marketing: Your all-in-one control center for visibility.
Settings (Gear): Where you "plug in" your accounts.
Schedule: Posting on Tuesday while you're actually at lunch.
Approvals: The "safety net" that ensures brand consistency.
