Products, Payments & Invoicing: Your Professional Financial Hub
Why You Need This Tool
In any business, managing your finances with precision is the key to growth. Handling payments through multiple apps or manual checks creates a tracking nightmare. We built the Payments section of The Pondo (our Pondocean system) to streamline your entire financial workflow. By connecting your "bank," defining your "menu" of services, and sending professional invoices, you ensure your business stays organized and your clients have a seamless, professional experience.
Step 1: Setting Up Your Payment Method (How You Get Paid)
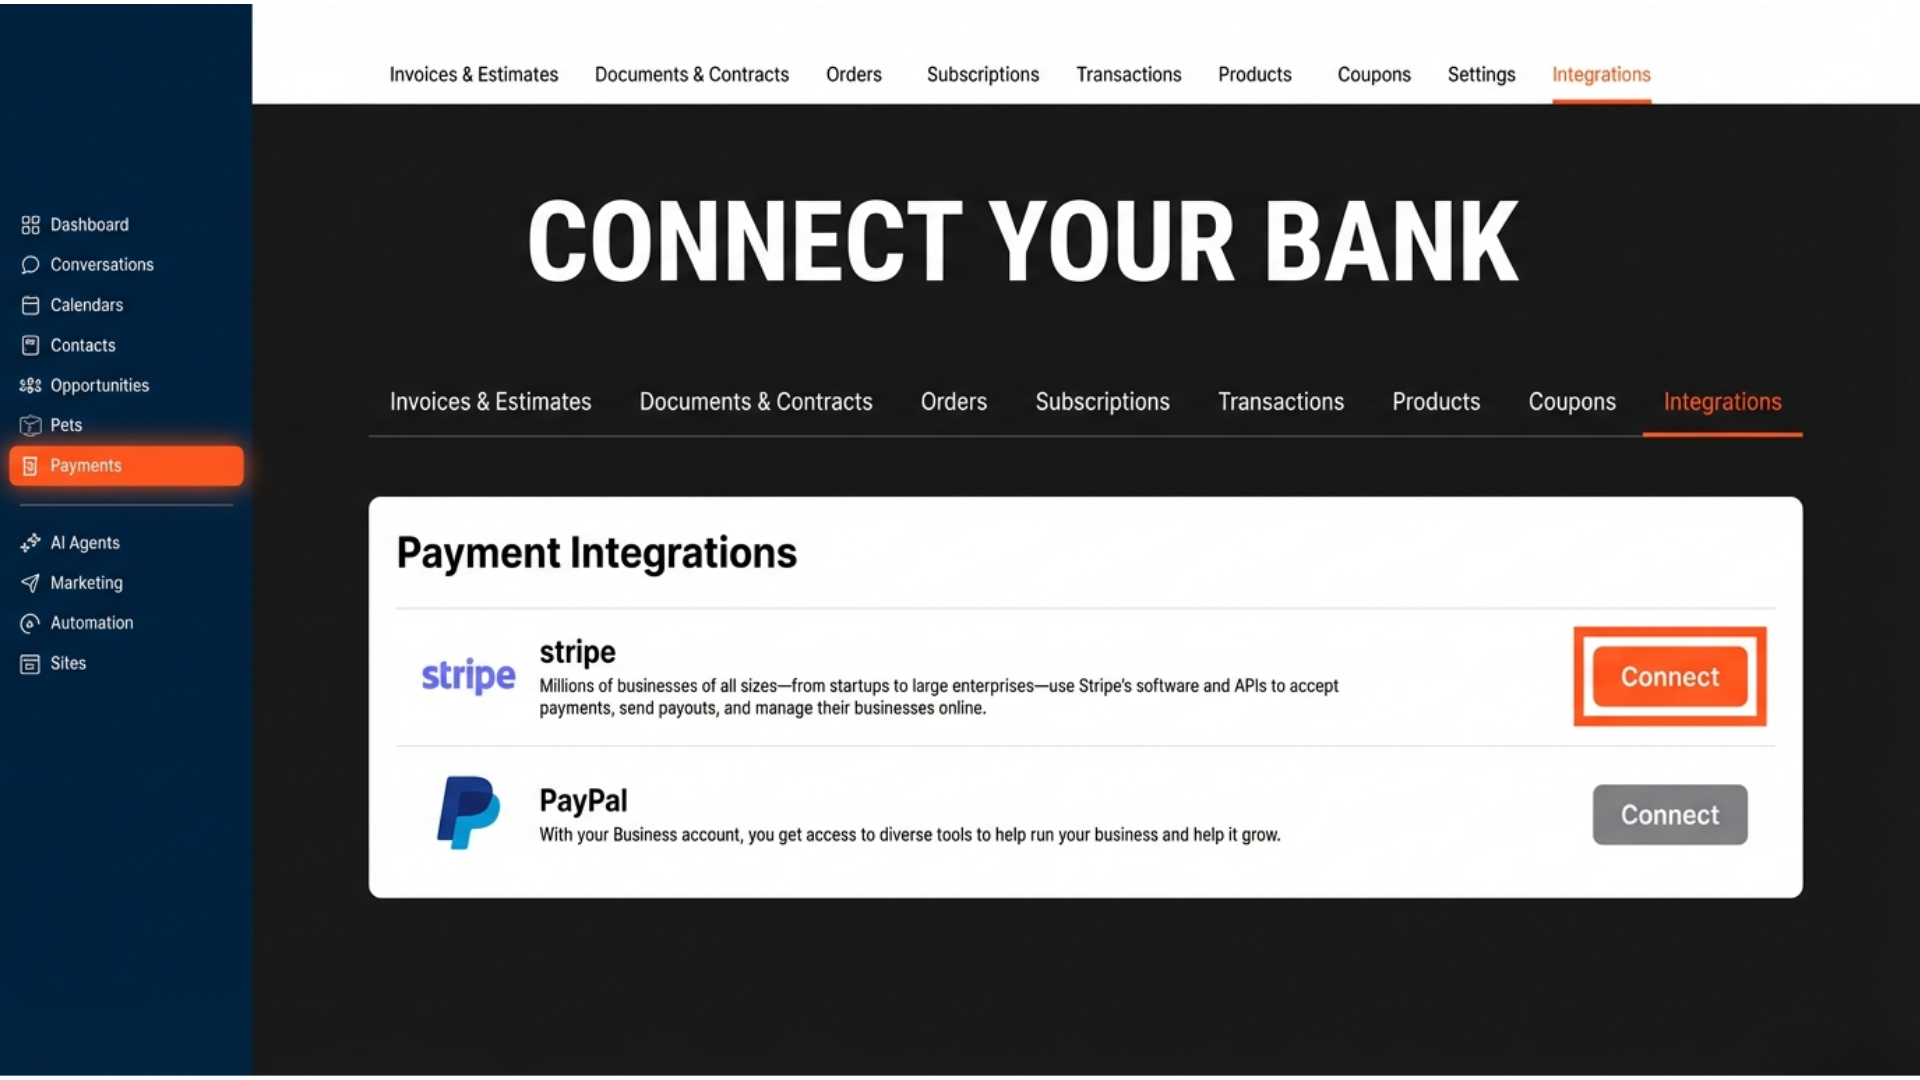
Before you can collect a single dollar, you must link The Pondo to a secure payment processor like Stripe or PayPal. This ensures that when a client pays an invoice, the money lands directly in your account.
On your Desktop: Look at the left-hand sidebar menu and click on Payments.
Access Settings: Click the Settings tab at the top of the main screen.
Navigate to Integrations: Click on Integrations in the sub-menu.
Connect Stripe: Find the Stripe option (recommended) and click Connect. Simply follow the prompts to log into your account and authorize the connection.
Step 2: Creating Your "Menu" (Products)
A "Product" is anything your business charges for—whether it is a physical item, a one-time consultation, or a monthly service fee.
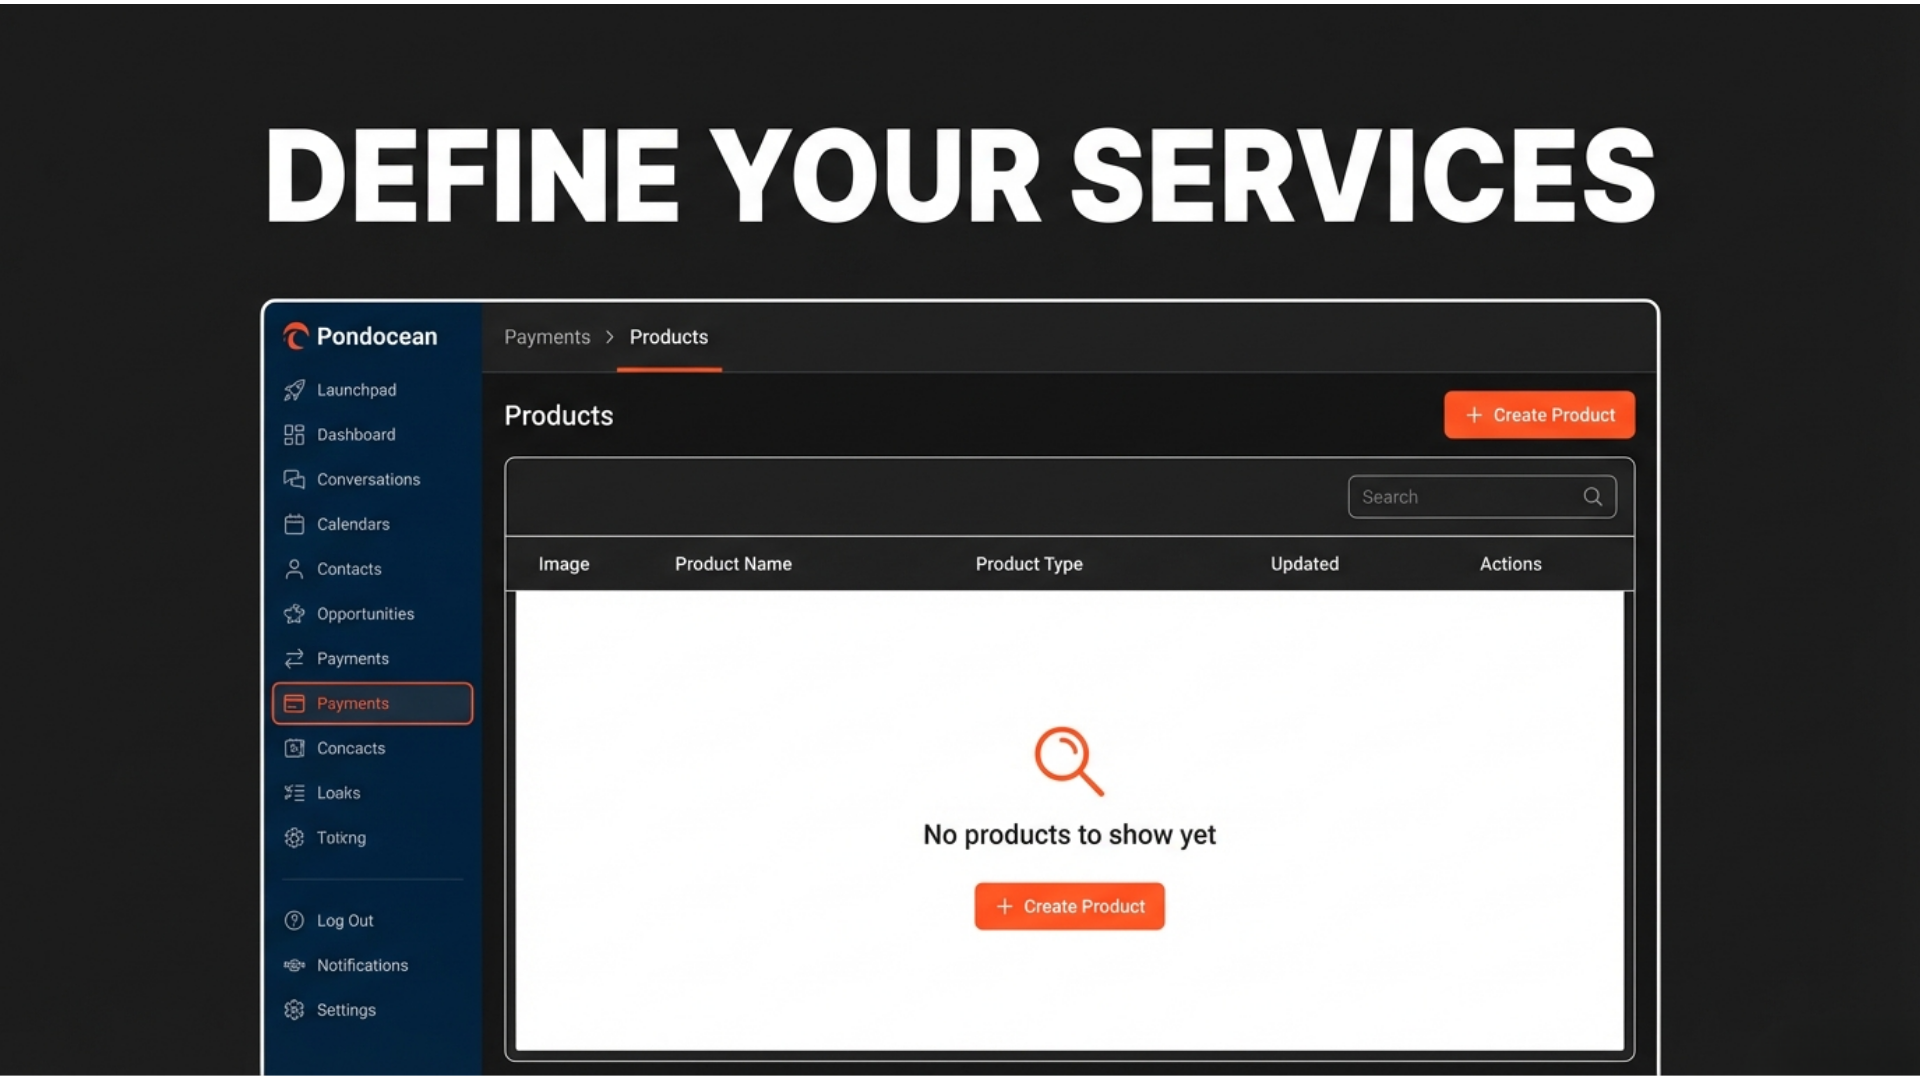
Navigate to Products: Click the Products tab in the top navigation bar of the Payments screen.
Start New: Click the + Create Product button.
Basic Info: Enter the name of your service (e.g., "Monthly Service Fee") and upload a thumbnail image.
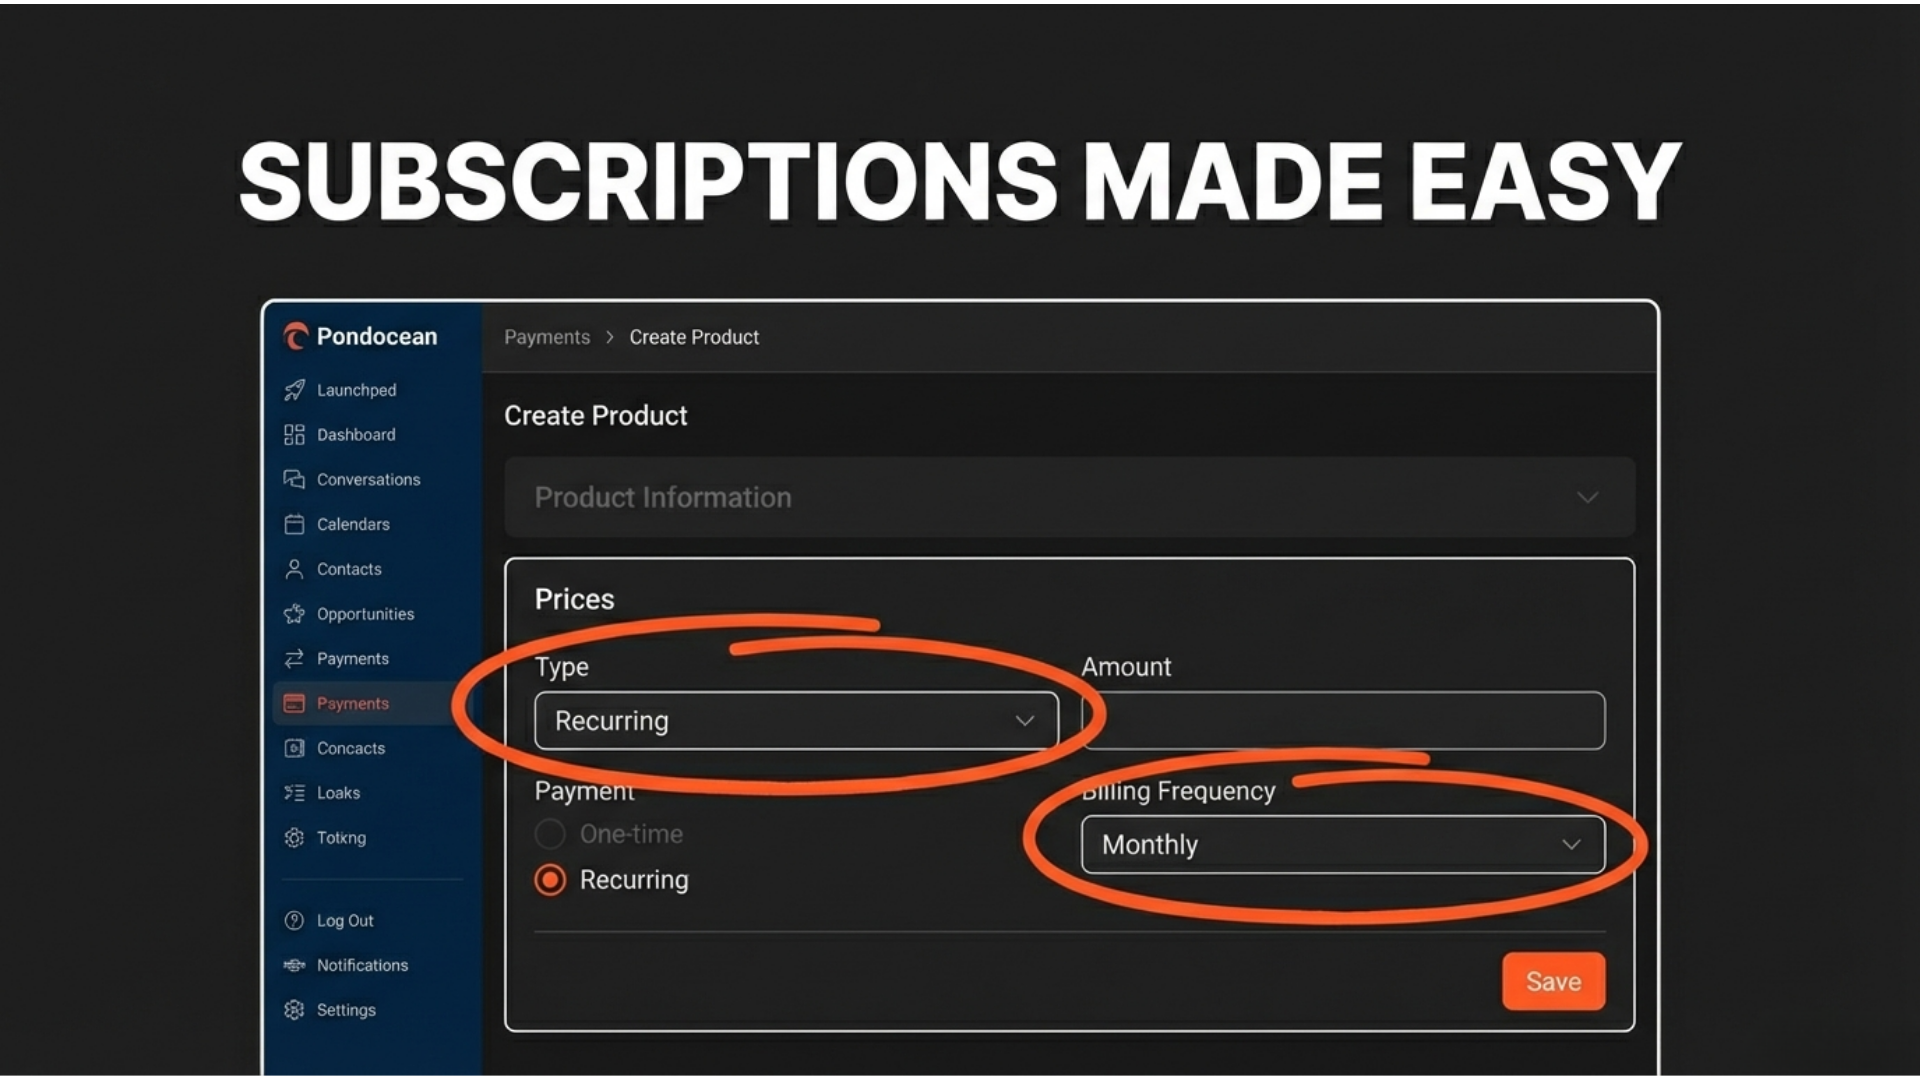
Set Your Price: * One-time: For single services.
Recurring: For subscriptions. If you select this, you can choose "Monthly" or "Yearly" intervals.
Finalize: Click Create this Product in the top right.
Step 3: Creating and Sending Invoices
Once your products are set up, you are ready to bill your clients professionally.
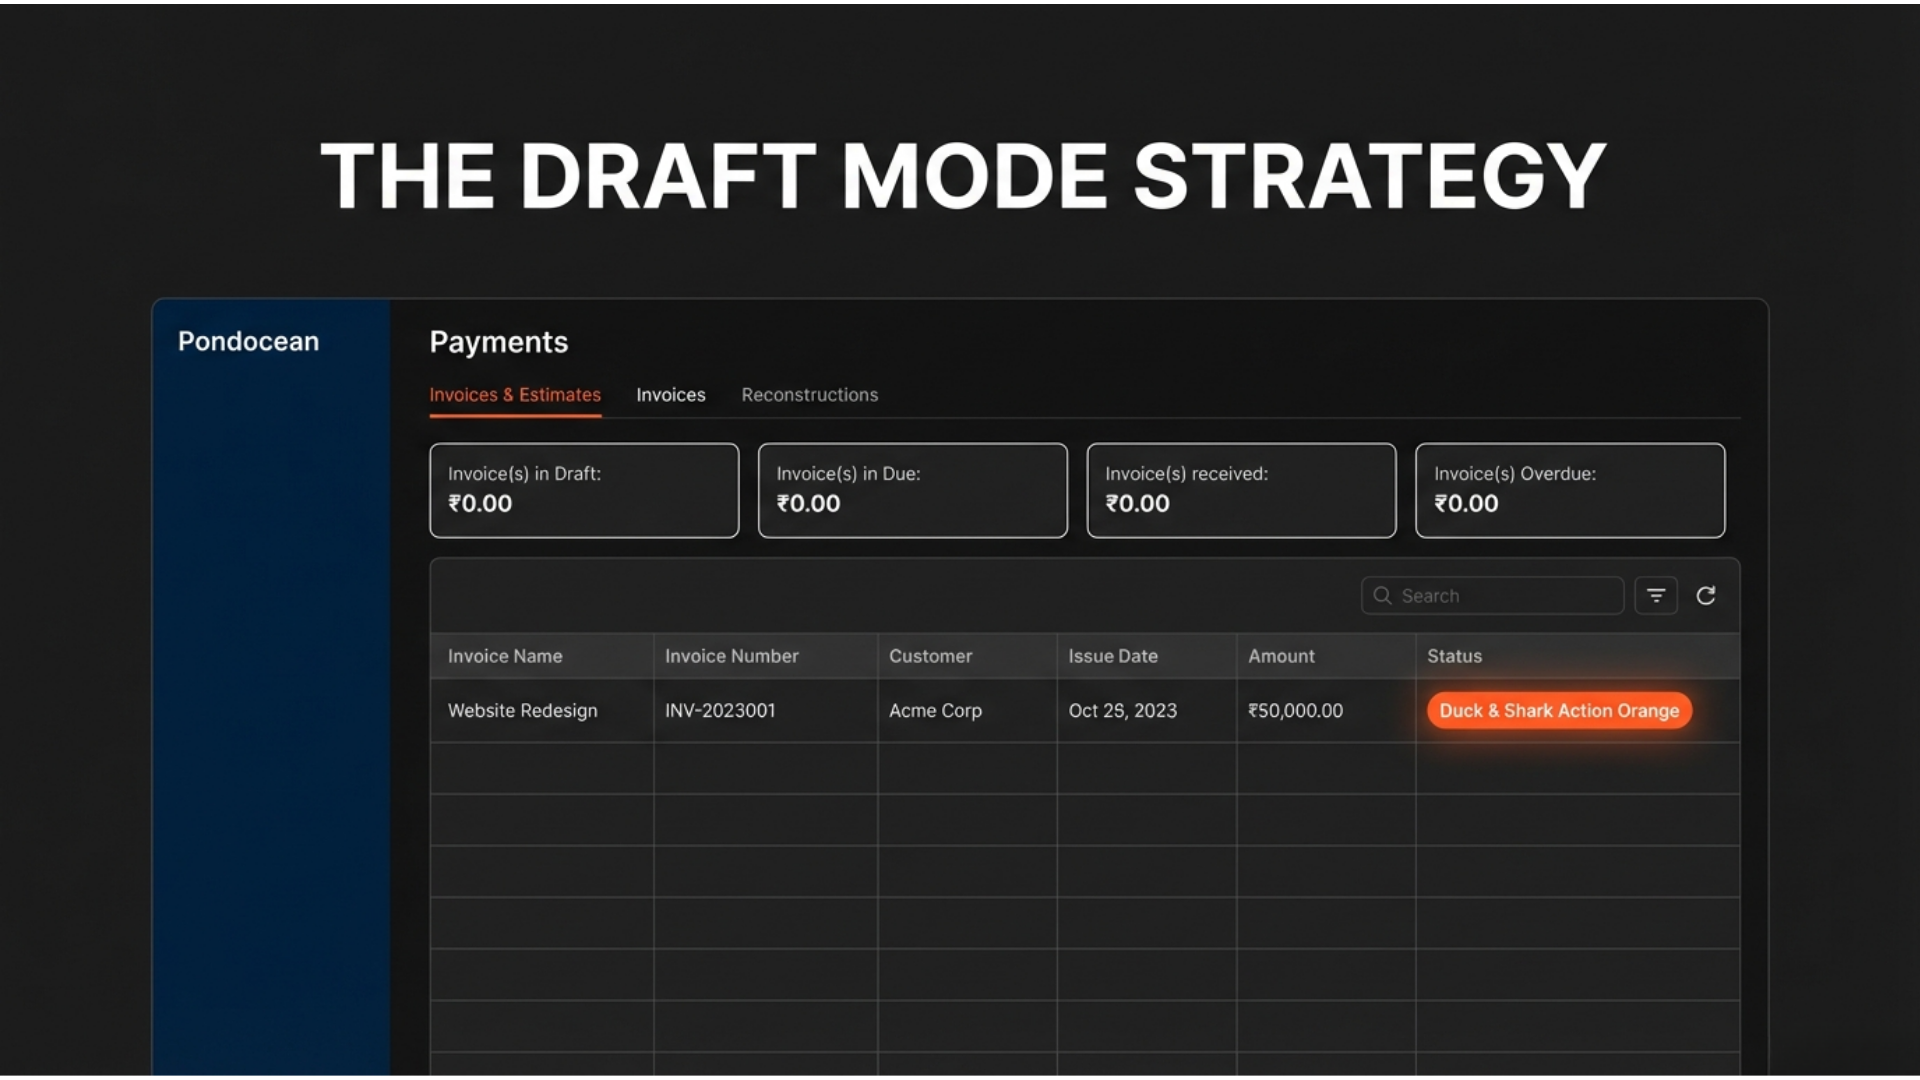
Access Invoices: Go to Payments and click the Invoices tab at the top.
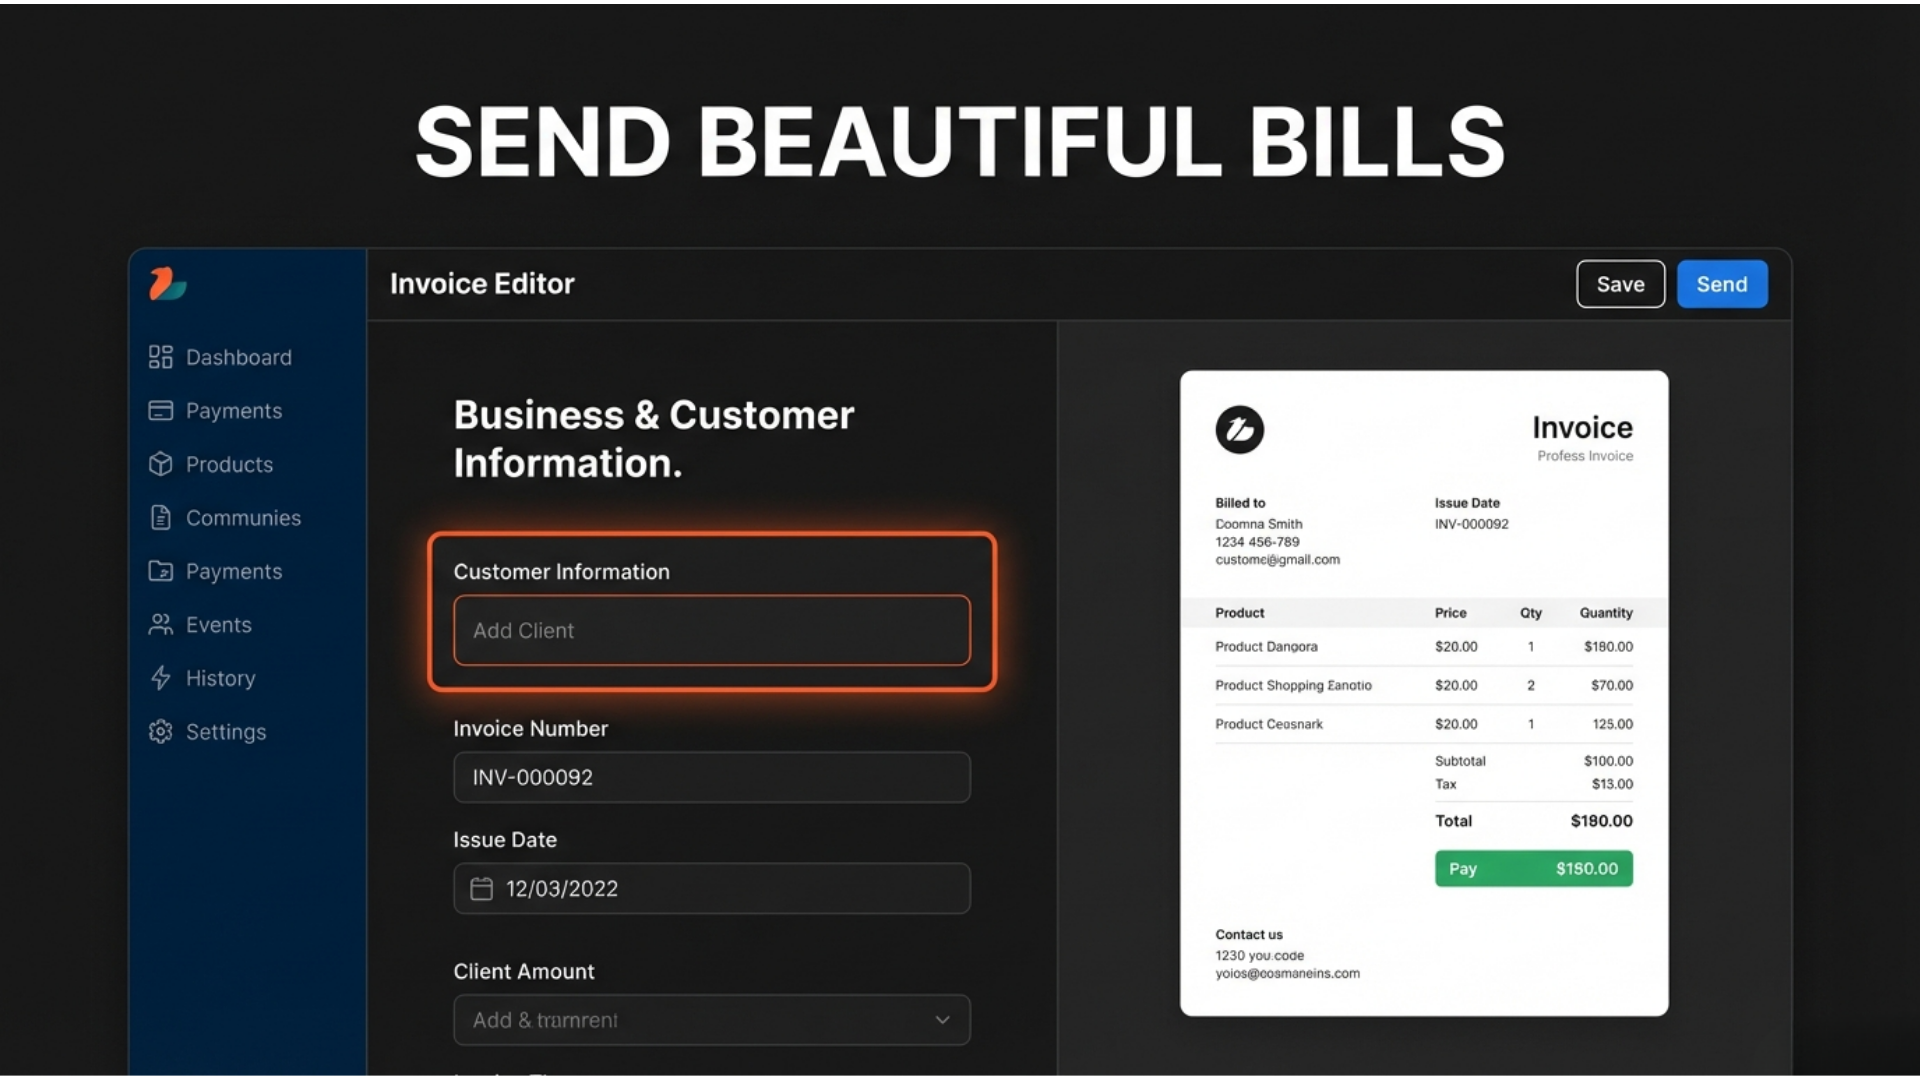
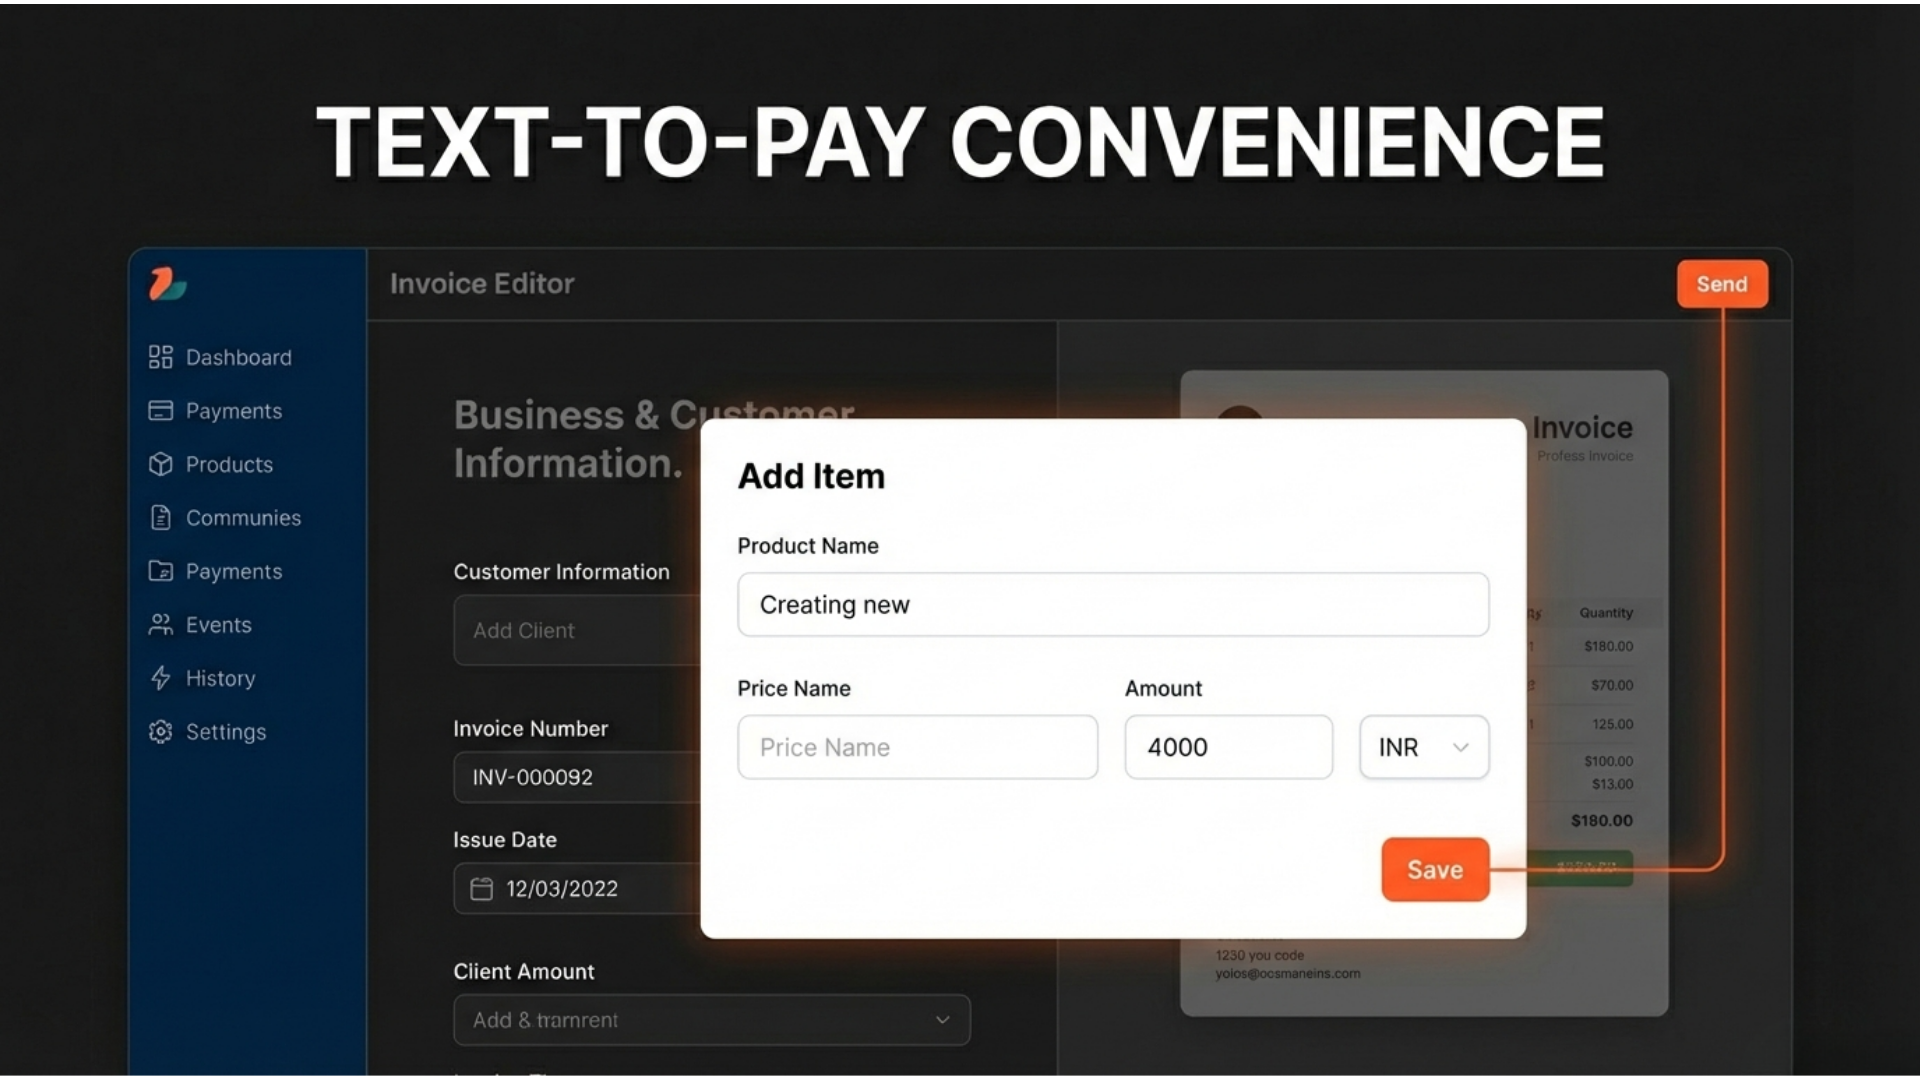
Start New: Click New Invoice -> New Invoice.
Select the Recipient: Click "Add Client" and pick a name from your existing People database.
Add the Item: Click "Add Item" and select the product you created in Step 2.
The "Draft Mode" Strategy: You don't have to send a bill the moment you make it. You can Save it and it will stay in Draft Mode to prepare your end-of-month billing ahead of time.
The Delivery: When ready, click Send. You can choose to send the link via Email, SMS, or both!
Step 4: Managing Payments on the Go
You can track your business income and even record manual payments right from your phone.
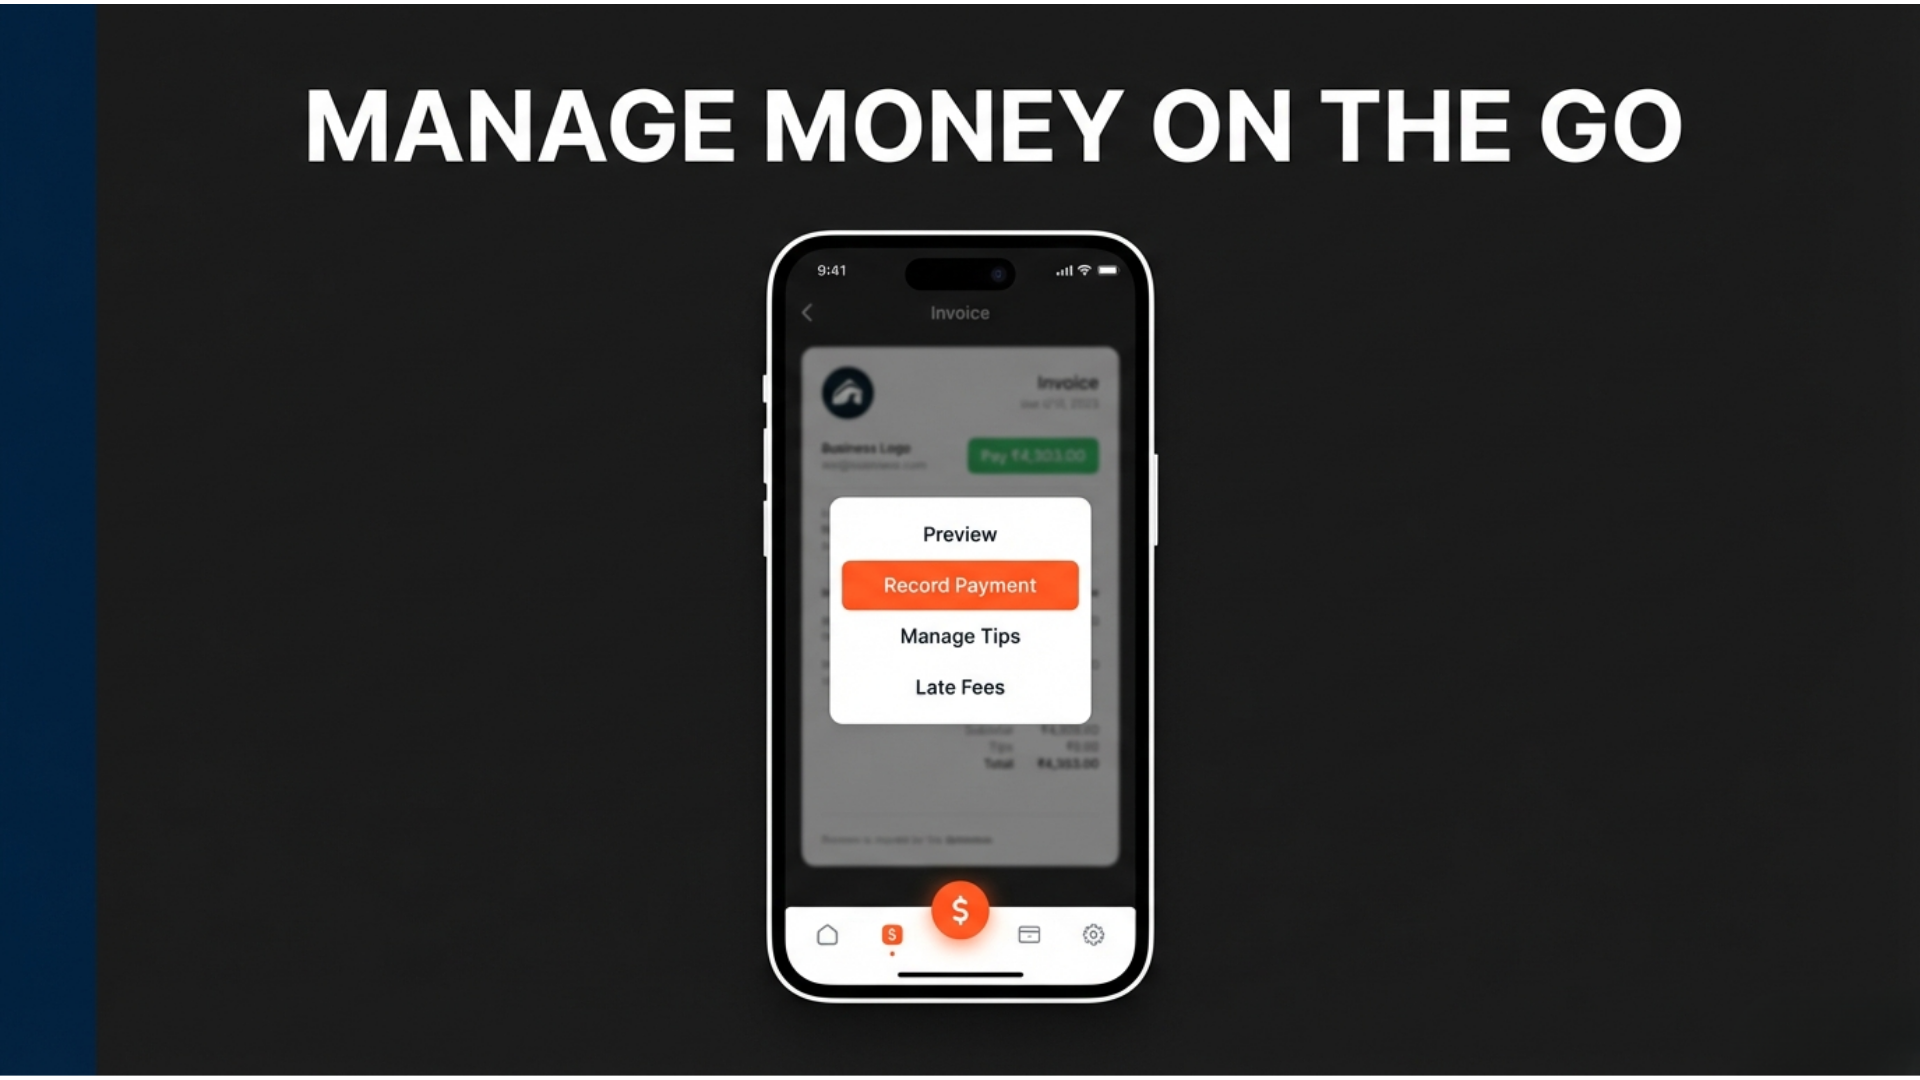
Locate Payments: Open the Lead Connector app and tap the $ (Dollar Sign icon) at the bottom.
Track Status: You will see a list of sent invoices with clear color-coded labels:
Green: Paid.
Yellow/Orange: Due or Overdue.
Manual Entry: If a client hands you cash or a check, tap the invoice on your screen and select "Record Payment" to clear their balance in the system.
💡 Summary for Non-Techies
Integrations = Connecting your "bank" (Stripe) to get paid.
Product = The specific services or items you are billing for.
Draft Mode = Pre-writing bills so you aren't rushed later.
Record Payment = Telling the system you received cash or a check.
